Last year I attended the Wellington LUX light festival as a spectator. This year, I helped illuminate it.
Intrigued by the idea of using light for art, I spent nearly every night of the 2014 festival wandering the illuminated trail. My friend, Cally, was volunteering for the event. She was fortunate enough to be asked to wear one of the light up dresses originally provided by the company Vospertron for the World of Wearable art show.
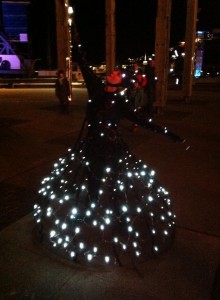
Cally’s enthusiasm and dancing mesmerized people. Children would run up to her and ask if she would dance or play a game with them. But adults would stand by and watch. They would look past the lights and see a person with LED’s and a personal space bubble so they kept their distance. There was no interaction for them.
I wanted to see the dress do something. I wanted to see it interact with more people and not just children. At the time, I didn’t know what or how I’d do it, but I decided this was something I wanted to be apart of.
I approached my friend Sophie Taylor with my sketched ideas – there were a few! I was optimistic and felt all of the designs were definitely doable. Even with some unknowns, I was confident none of them would be too challenging. I somehow convinced her of this too and she madly agreed to help.
We refined our concepts down to two potential candidates: Firefly and Light Swan

10th April, 2015. Email from Chris Bennewith.
Subject: LUX 2015: EOI notification
Content: …”We are very pleased to be able to inform you that your work “Light Swan” has been selected for exhibition as part of the 2015 festival”…
Light Swan was accepted! Time to bring the paper concept to life!
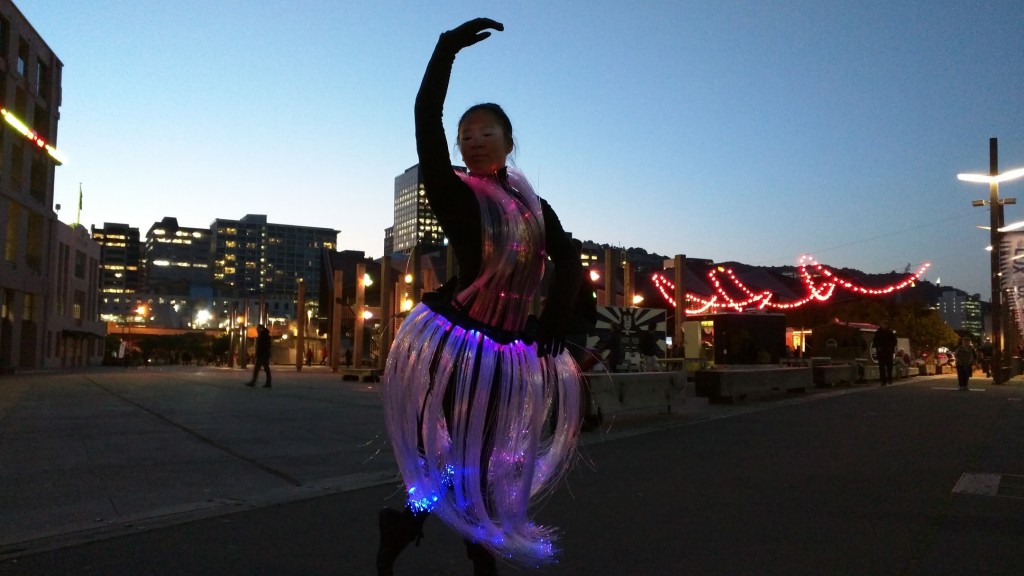
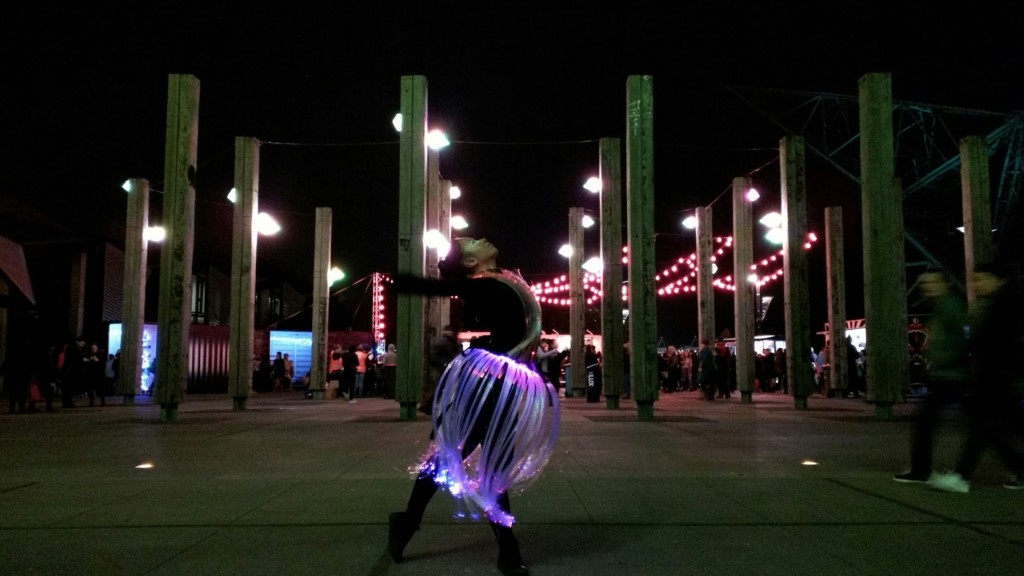
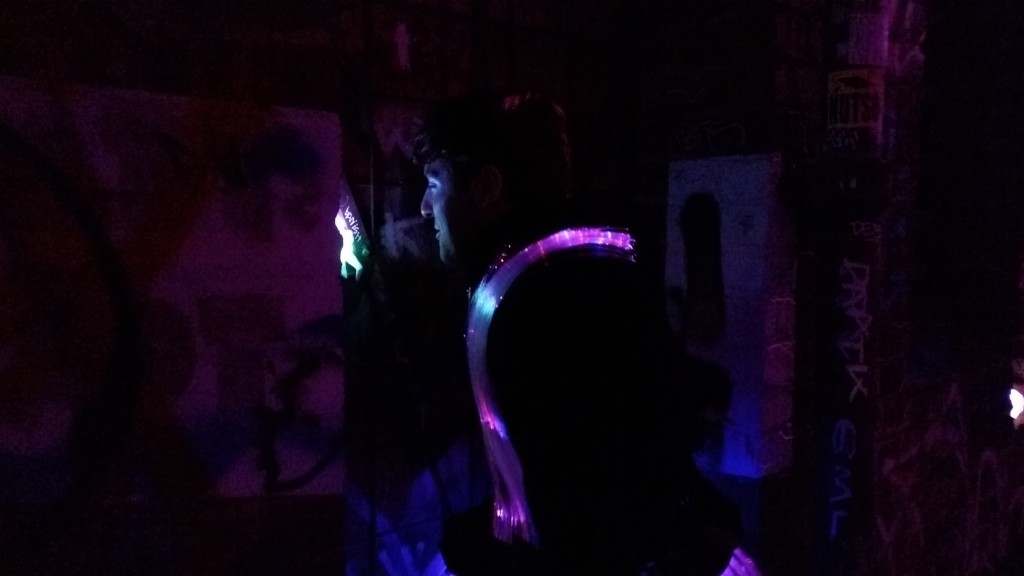
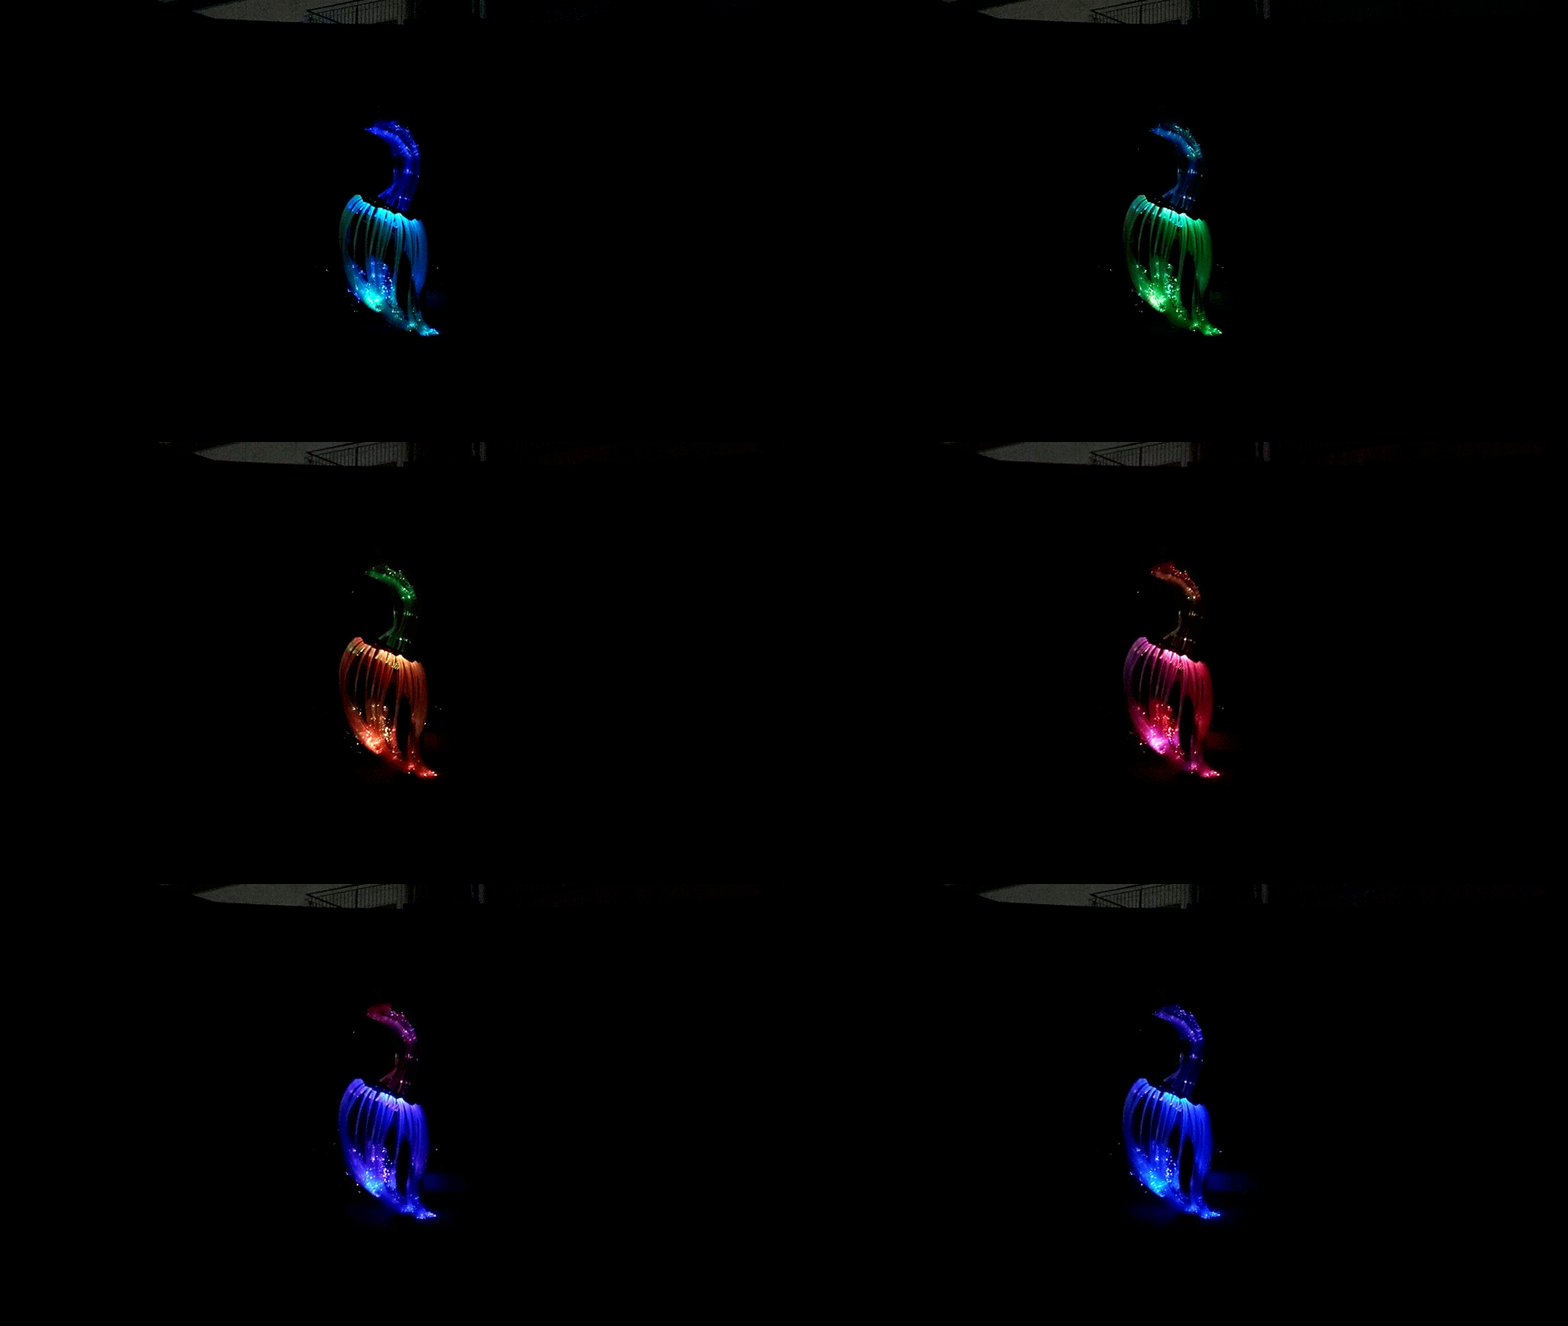
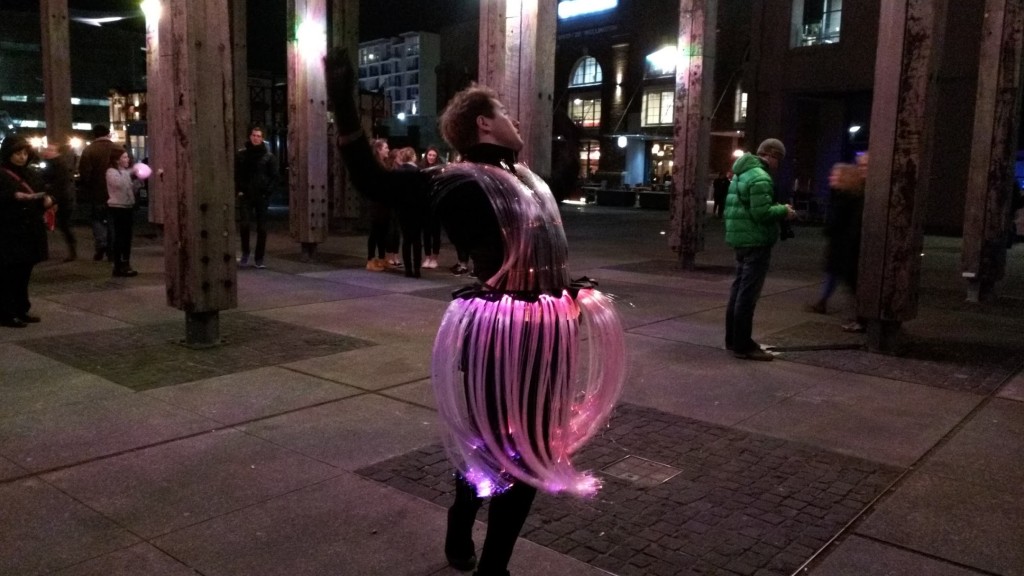
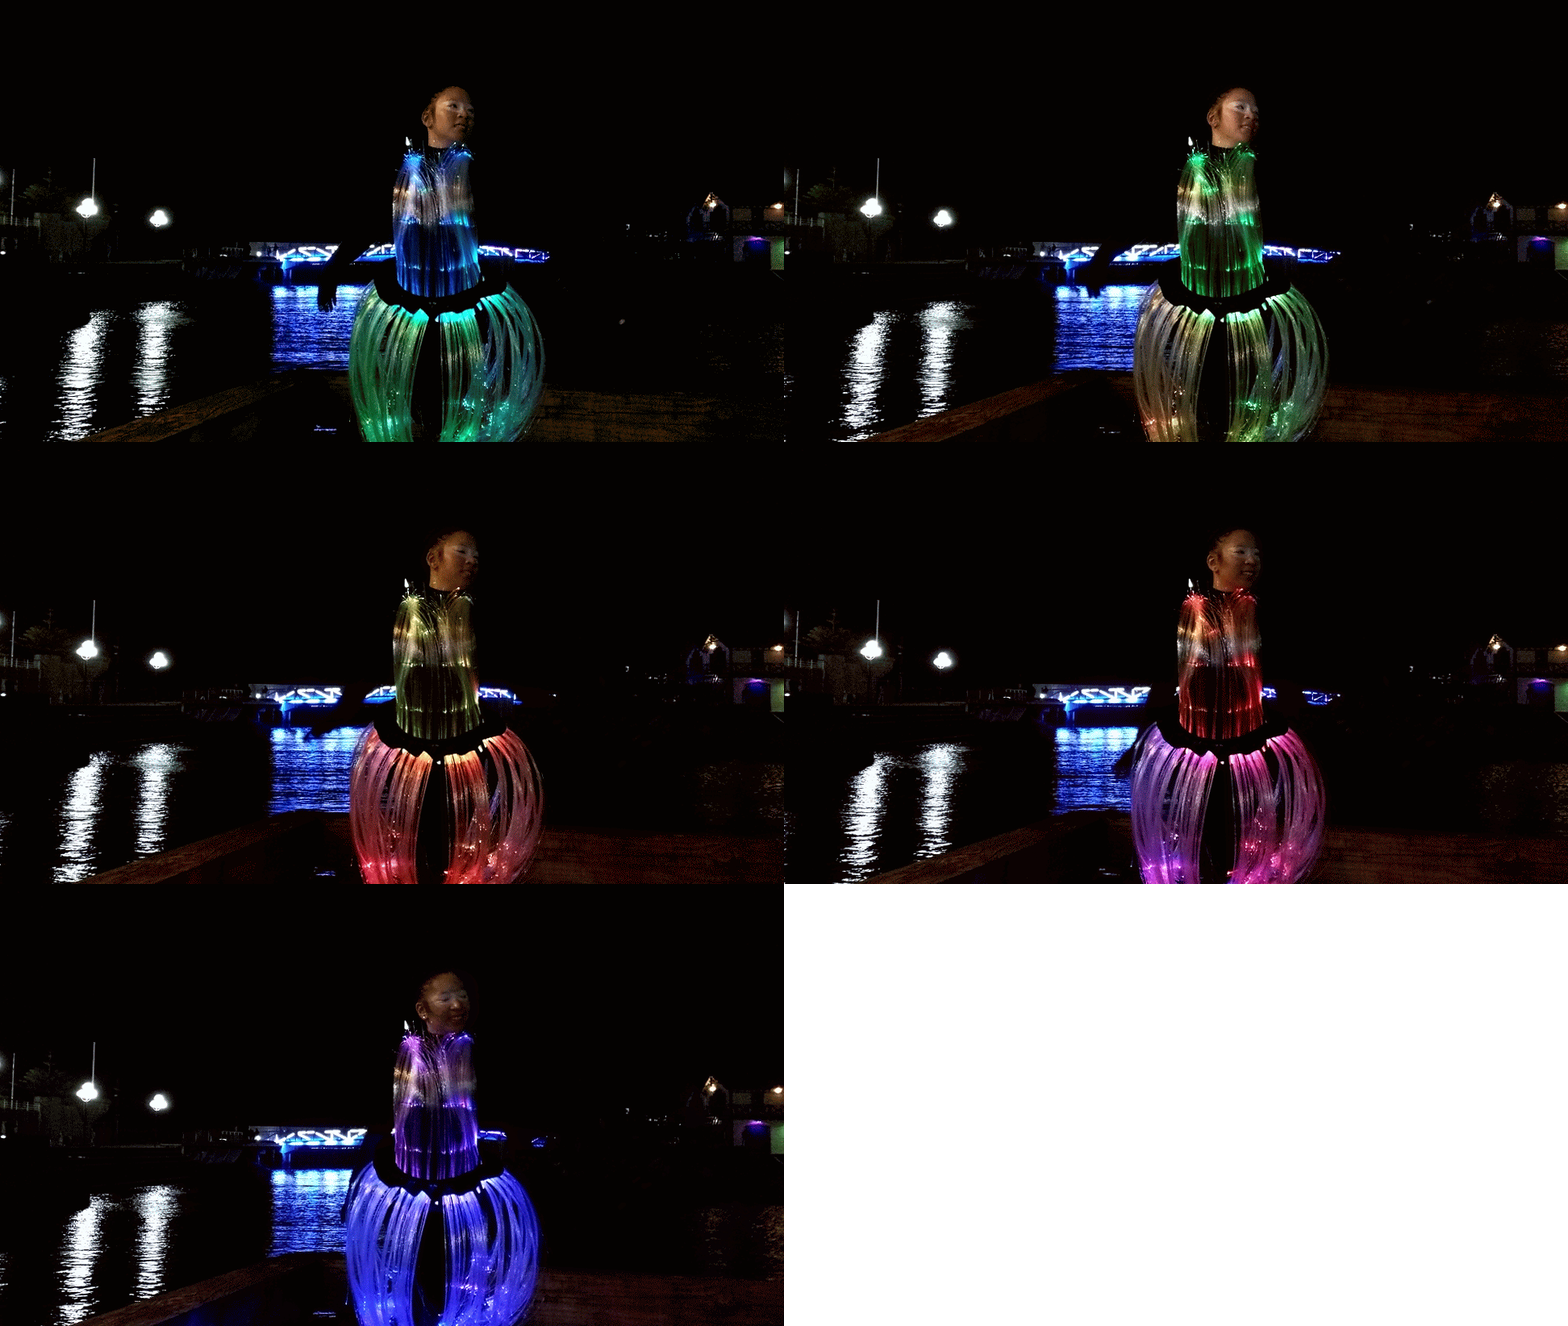
So what is Light Swan? Light Swan is a colour sensing, fibre optic, illuminated ballerina dress.
Our plan was to make a full, two piece, adjustable dress, in the style of a ballerina’s dress from LED’s and fibre optics. Sounds easy enough right?…
To help trial (and error) our construction, I bought 24 fibre optic wands and 2 LED laces from Trade Me. We pulled apart the wands and used the fibre optics to test light parsing from a neopixel strip:
Pretty good. Channels enough light.
We arranged the bundles within a cut tube of conduit which also housed a strip of Neopixel LED’s. Essentially, our first prototype. Held together with everyone’s favourite: cable ties!
Sweet. Not perfect, but it’s a start.
Time to test out our colour sensor! Using alligator clips, I wired up the colour sensor and neopixel strip to a FLORA microcontroller. At this stage, the colour sensor is only being turned on and reading the colour when the controller is booted up.
Later on I made minor alterations to the code to trigger the colour sensor on button click. Much more effective and discrete for the performer!
Time to build the fibre optic fabric of our dress.
I purchased 600m of .75mm fibre optic, thinking that this would be plenty. We cut at rough lengths and bundled 50 strands together with small rubber bands. Each bundle circumference was slightly larger than the circumference of one neopixel LEDs.
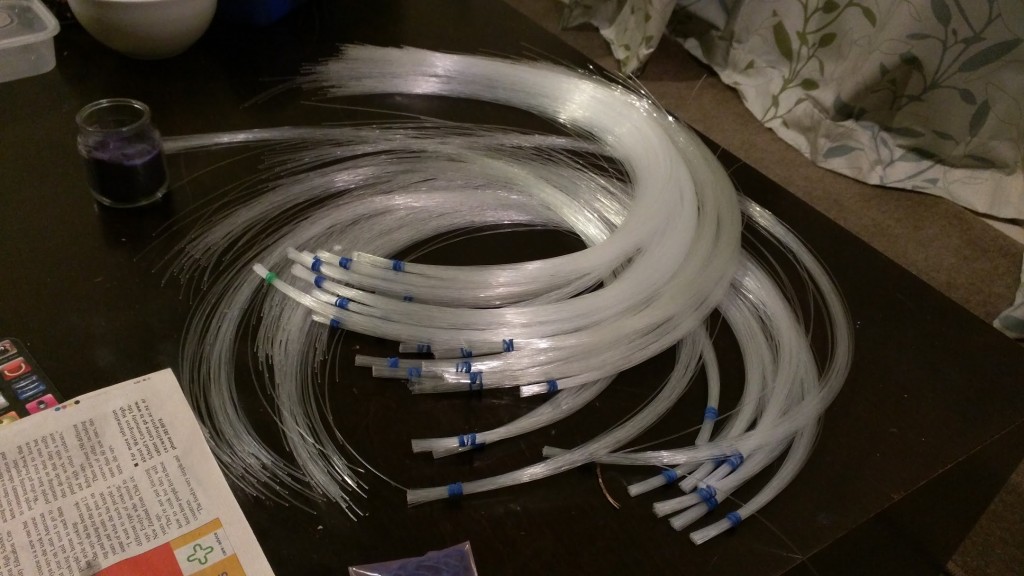
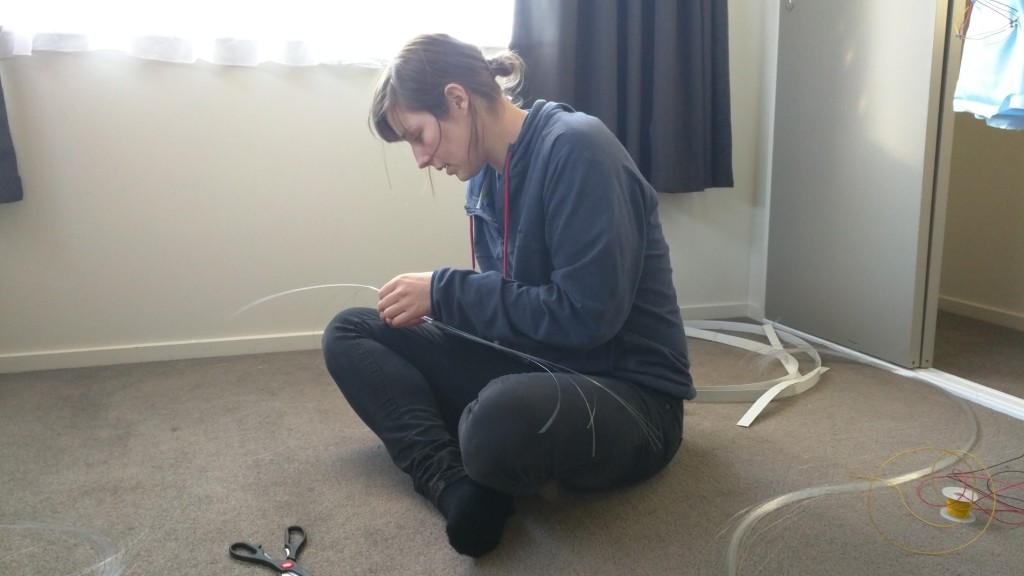
The rubber bands were not strong enough to keep the bundles tightly together and couldn’t keep the ends of the fibre optics in line. We used Araldite, a 2 part epoxy to glue our bundles together. This stuff is super strong, dries really fast and clear, but it stinks!
We had a few moments where the glue made us go a little crazy and I nearly lost an eye, but that’s another story..
It wasn’t cheap, but it was definitely worth it. We needed to ensure that our bundles could withstand lots of stress from the movement of the performer.
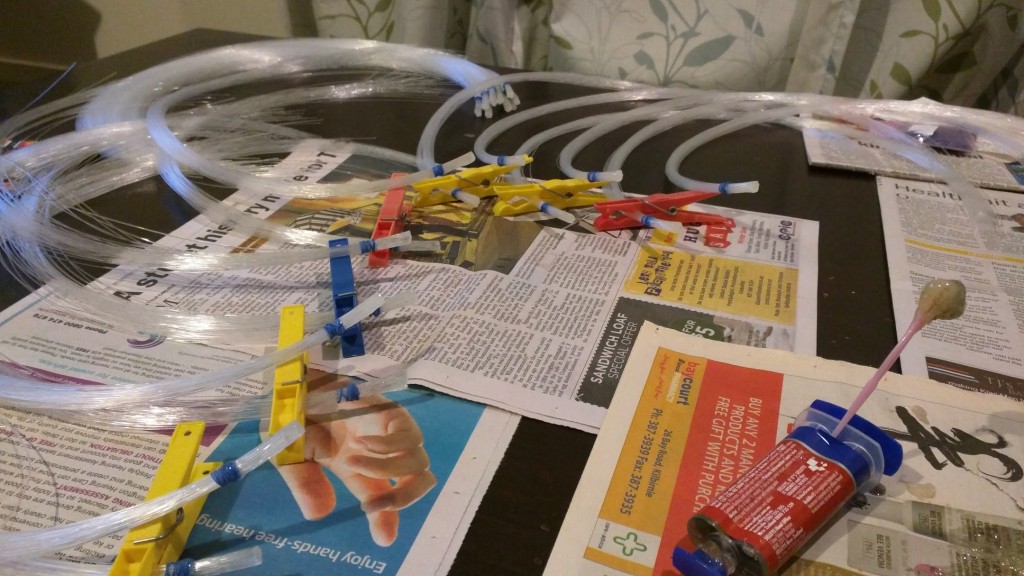
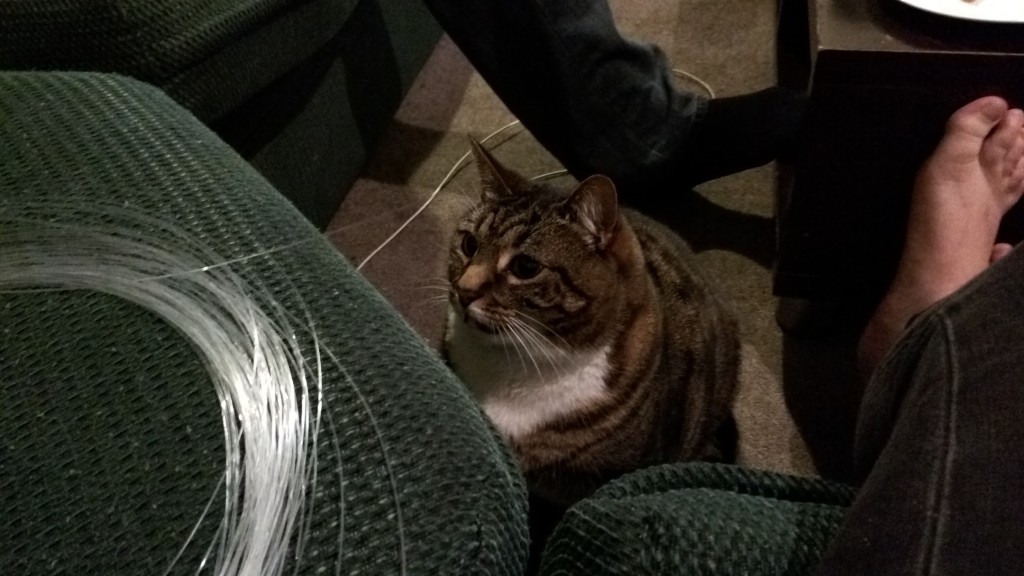
I estimated we would need roughly 60 bundles to cover the skirt alone. The 600 meters worth of fibre only covered just over half of that.
Time to buy in bulk! I ordered a reel of the same width fibre optic from China. 2.7km worth! We continued to cut, bundle and glue, till we finally had 80 bundles of fibre.
To ensure the most light would pass through the bundle, we needed to make the ends very flat and very clean. Luckily, Sophie’s partner, Dan, has access to a workshop and a few heavy duty power tools..
First we tried the laser cutter. Can’t get much more precise than a CNC machine! The laser cut a smooth flat end to the bundle, but the heat melted the plastic and gave off an awful smell. We were not sure exactly what kind of gas the plastic was producing and decided to give this method a miss in case it became too toxic.
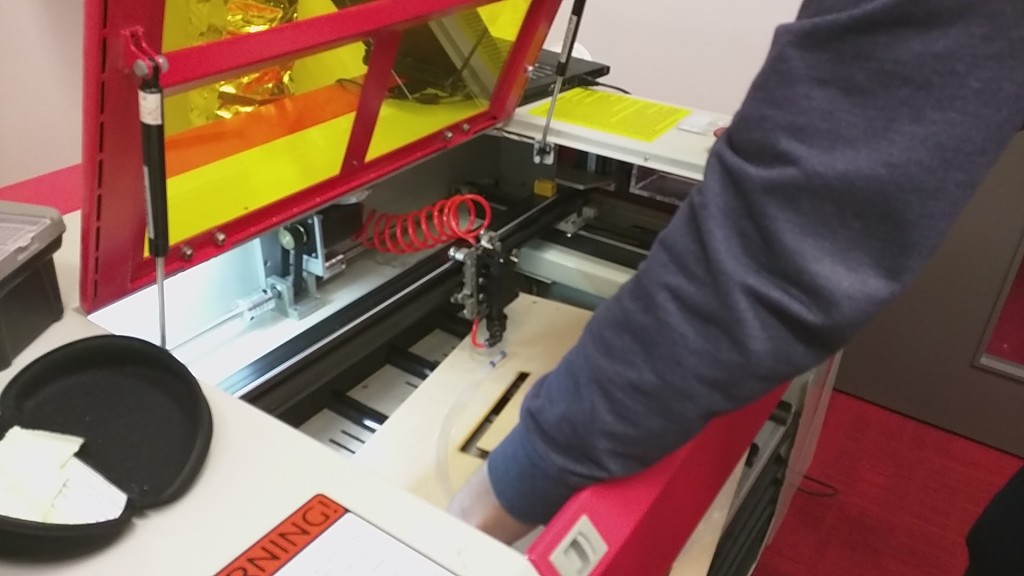
Plan B: Cut and polish assembly line.
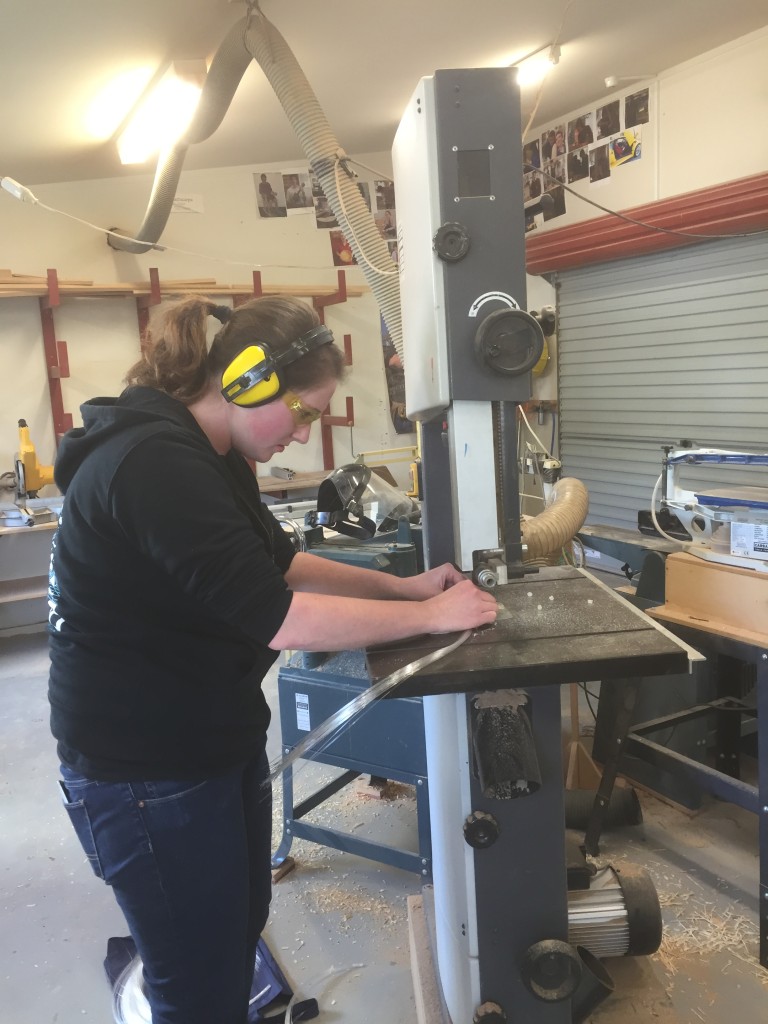
We decided our next best option was to cut and file the ends down. I got to use a band saw for the first time since high school!
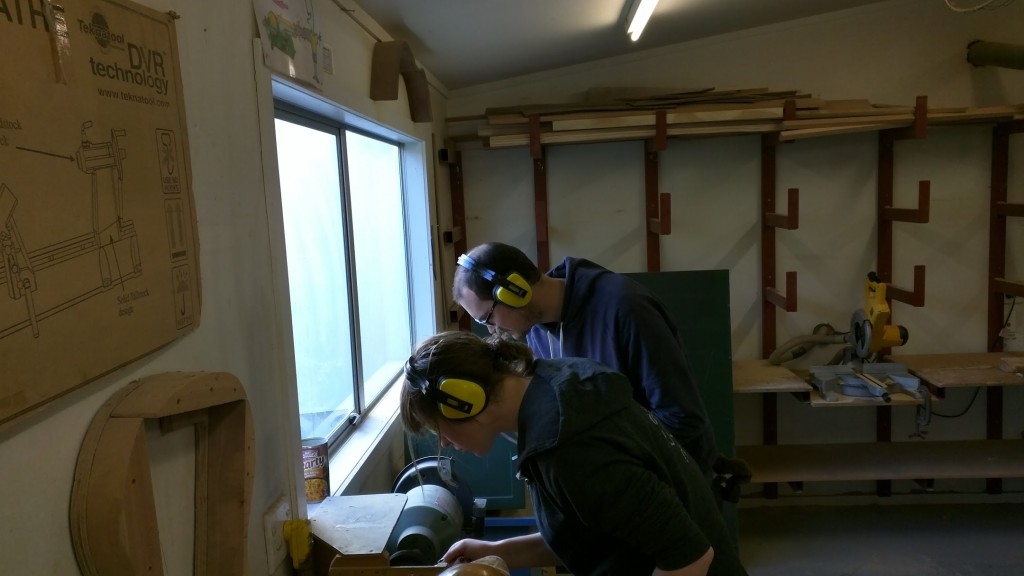
After cutting the ends with the band saw, Sophie and Dan use bench grinders to file off any rough bits.
Finally, we polished away any excess dirt from the machines with cotton cloths.
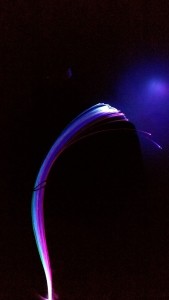
The results were great! The strands glowed whatever colour the neopixel’s shone and the end points were very bright.
Next we needed to glue it all together. We tried to use the araldite epoxy, but it wouldn’t stick to the cover of the LED strip. We tried using a hot glue gun, but this didn’t stick either. We tried removing the plastic cover and gluing directly over the LEDs with the hot glue gun. This worked, the bundles stuck, but the LEDs stopped working. I tried pulling the glue apart to see what had happened, but only seemed to damage them further. I’m guessing the heat detached the connections. Hot glue gun was no longer an option.
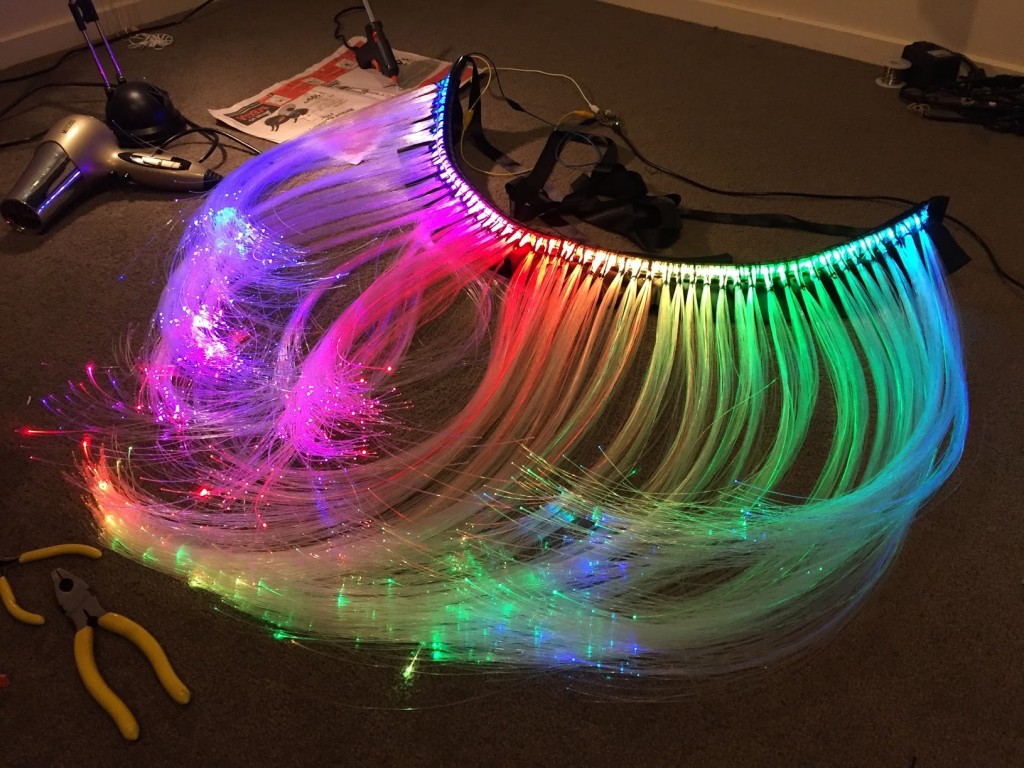
We tested the araldite on the strip directly and it worked! To help keep the strip weather proof, we carefully cut out the cover over each LED, placed the bundle over top and covered it with glue. We pushed as much glue under the cover as possible to help give it a strong base. This method was incredibly messy and time consuming. The amount of fibre and glue on the strip now meant it was quite heavy. To help reinforce it, we backed the strip with plastic boning and tied down each bundle with rubber bands.
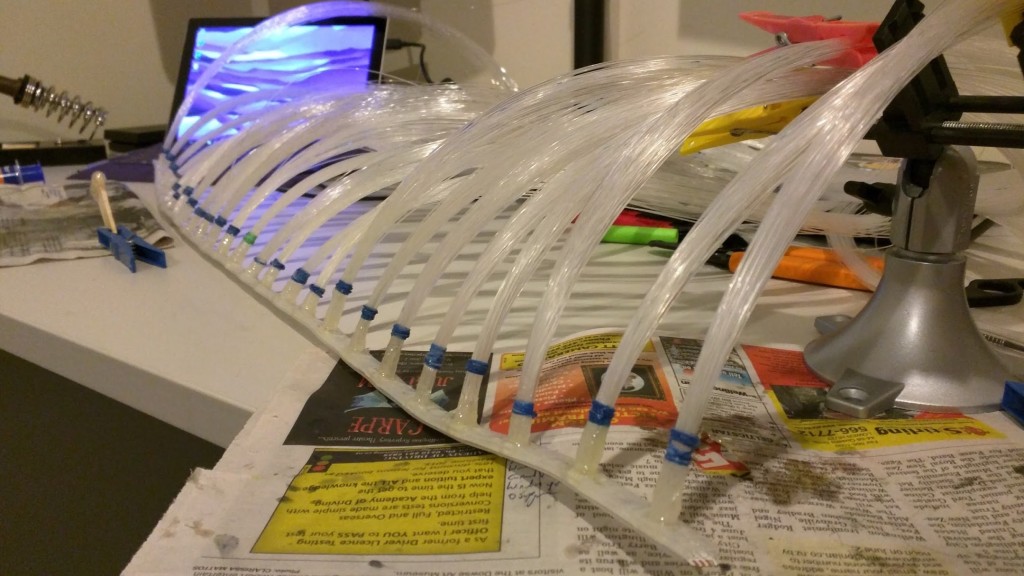
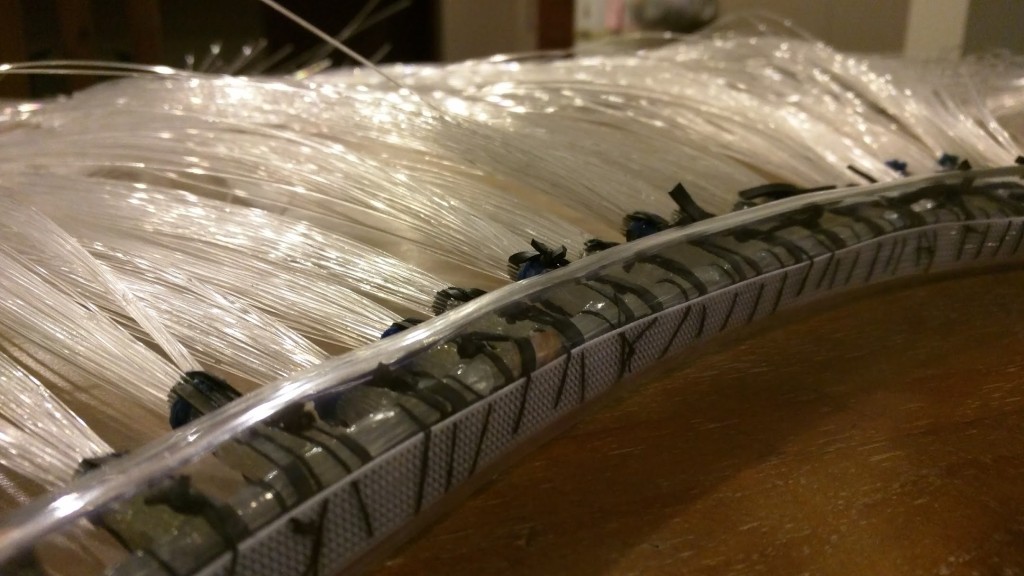
The LED strip for the skirt needed a bit more reinforcement and protection, so we encased it in a clear plastic tube. This also helped to keep the fibre bundles directing out at an even level around the skirt.
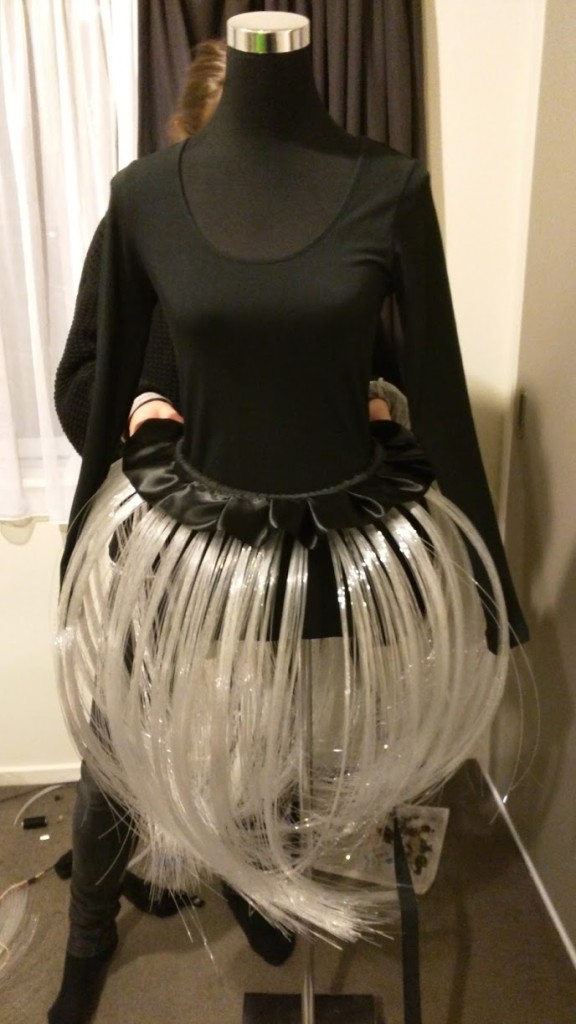
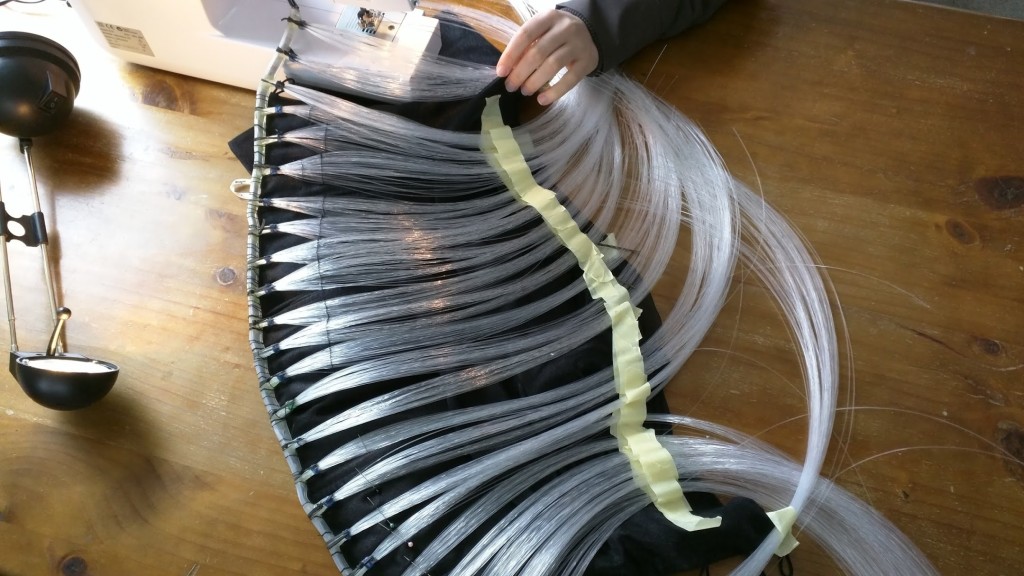
To fix one of our LED strips to the corset top, we fanned out the fibres and held them in place with masking tape. We wanted to keep the fibres as close to the corset as possible. We stitched 3 horizontal lines around the corset, one near the base, the middle and the top. Some of these stitches we were able to run through a sewing machine, but most of it was stitched by hand as the sewing machine needle cracked some of the fibre strands.
Finally, we had a physical dress.
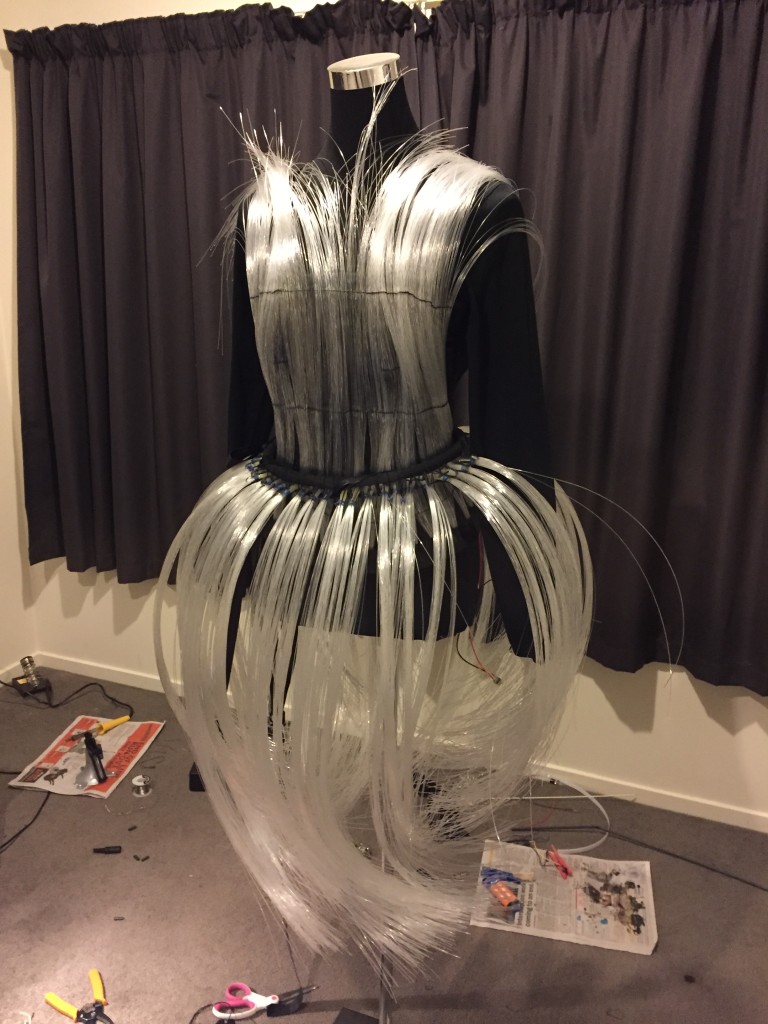
The top fibres were a little long and stabby, so we trimmed them up to fall away from the performers face and over their shoulder.
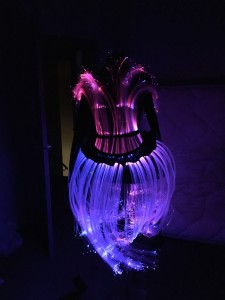
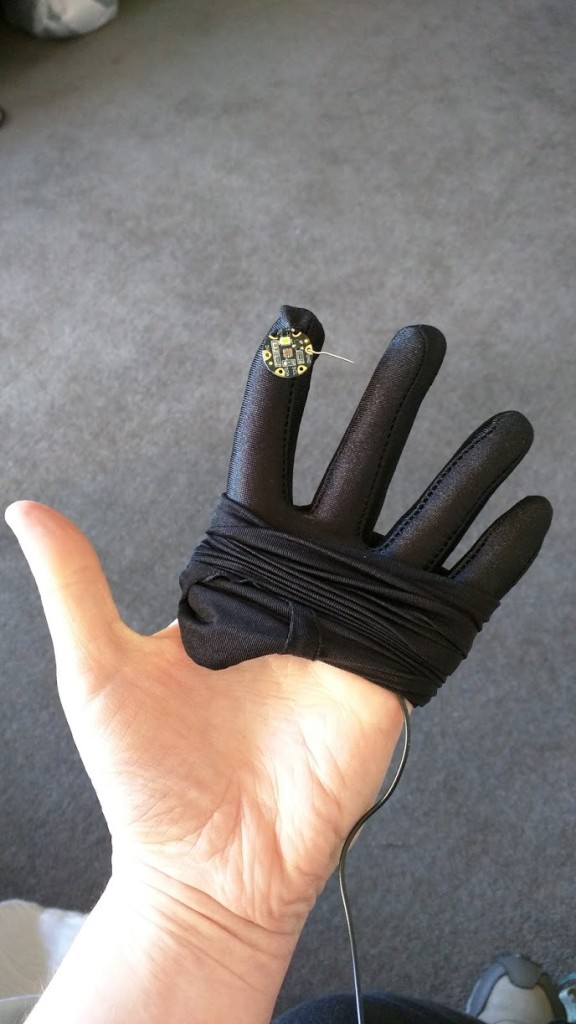
To control the colour sensor functionality, we wired up one glove with a colour sensor mounted at the end of the index finger and another glove with a button on the index finger. This way, the performer could trigger when the colour sensor would detect colour and keep the magic hidden by hiding their other hand from the spectator.
We made tiny holes in the finger tips of the gloves to allow the wires to pass through and hand stitched the wires to flow across the hand and down the seam line.
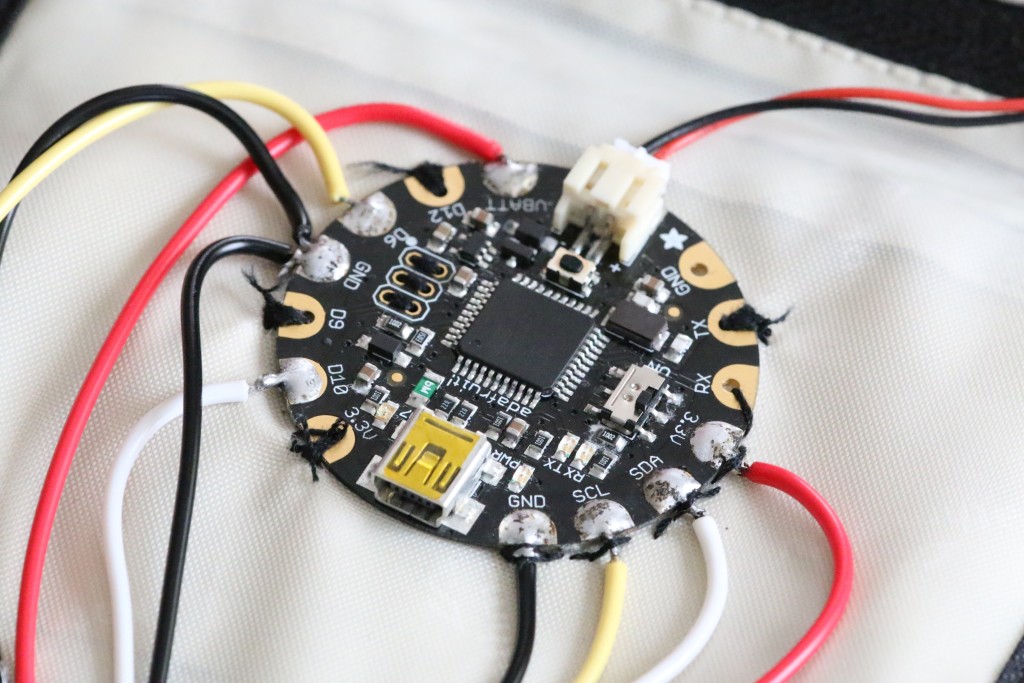
To house and power everything, we re-purposed a travel pouch from kathmandu and stitched it into the base of the corset so that it would hang down the leg and the strap could be wrapped around the thigh to keep it in place. The pouch was just the right size to pocket our 3.7v lithium polymer battery and FLORA microcontroller from Adafruit. The top and gloves were wired from this point. We kept the skirt separate so that it would be easier to take on and off and made plug in connections from the top to the skirt.
Time for the big reveal at the LUX festival!
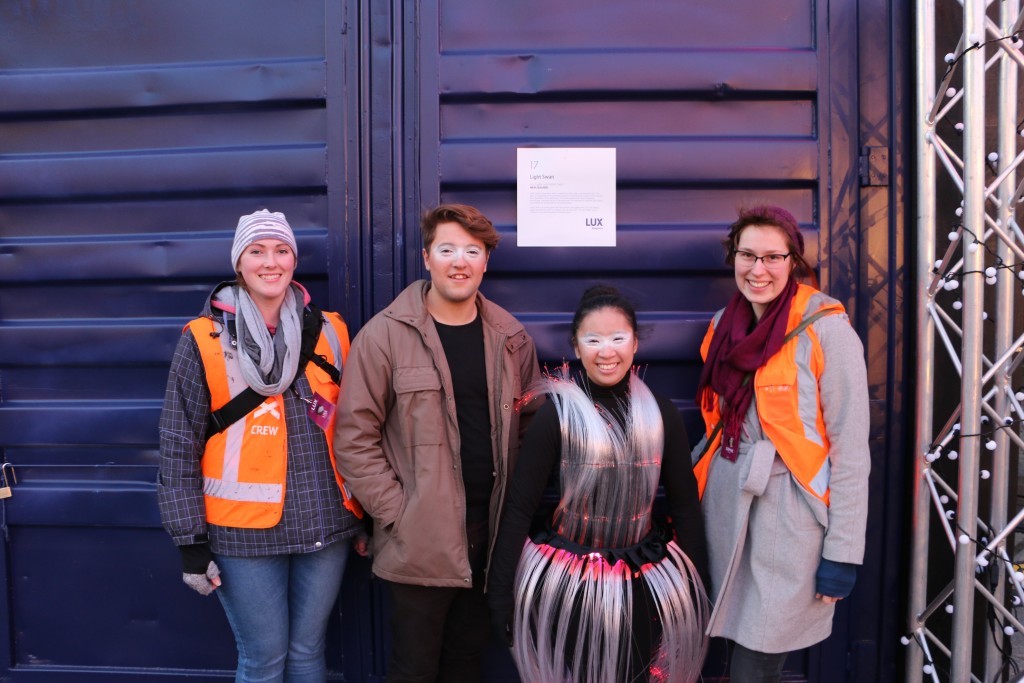
My friend, Debbie, was working at the LUX festival as the volunteer coordinator. She found Sophie and I two outstanding interns to be our Light Swans, Kelsey Gee and Jack Hitchens.
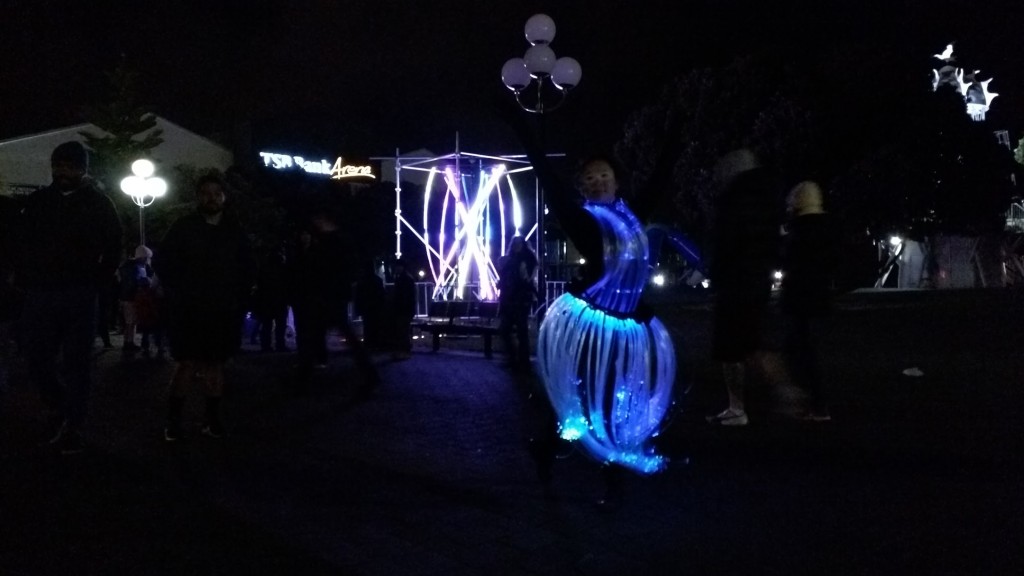
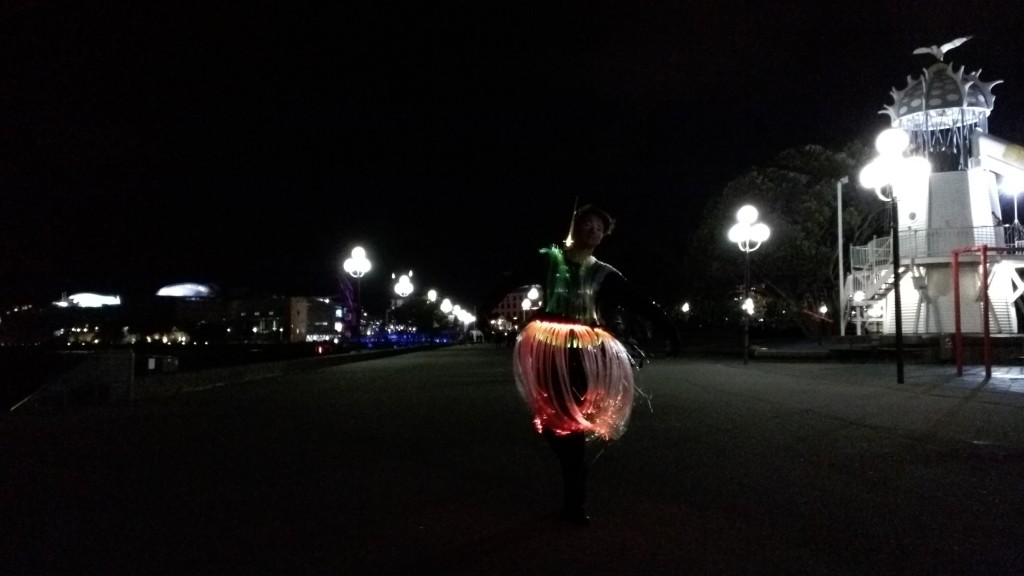
These two rocked it every night! It wasn’t easy to put up with our crazy antics and occasional technical issues. But they did a fantastic job at bringing the Light Swan to life!
Because we were a moving installation, we created a twitter account so that we could post our location each night. https://twitter.com/luxlightswan
We spammed the LUX account and various LUX hash tags, but people still had trouble finding us. Some even made it part of a challenge! A group of primary school children came up to us one night with a scavenger hunt challenge their teacher had made for them. Each installation at the festival had a question. Ours was “Can you find the Light Swan? (We couldn’t)”. The children were thrilled they had found the elusive Light Swan.
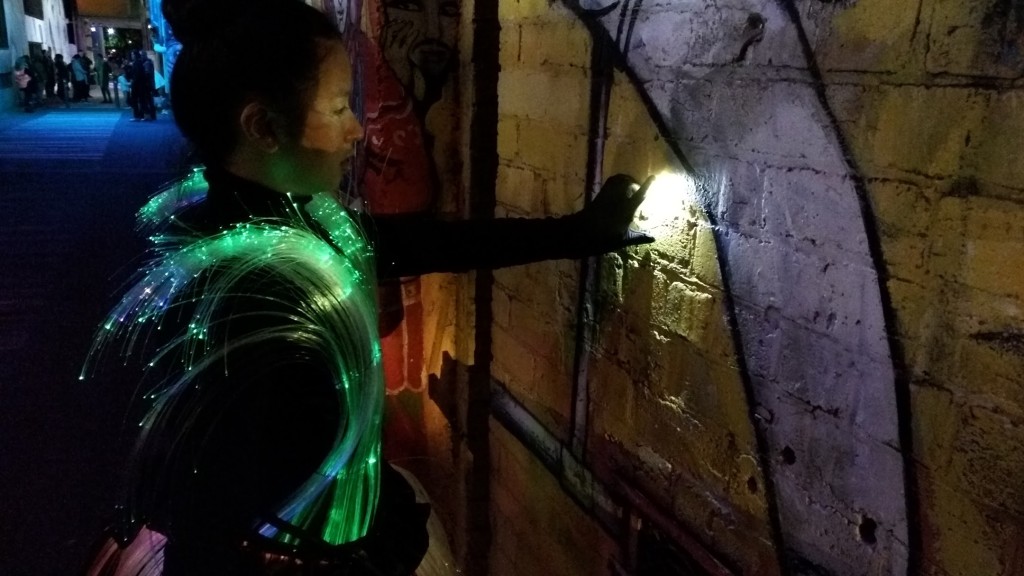
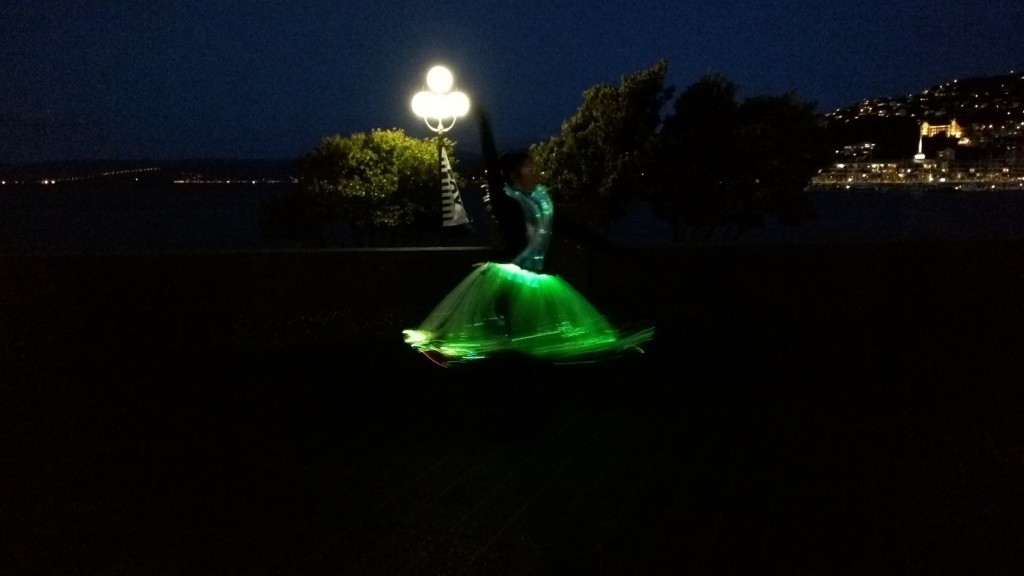
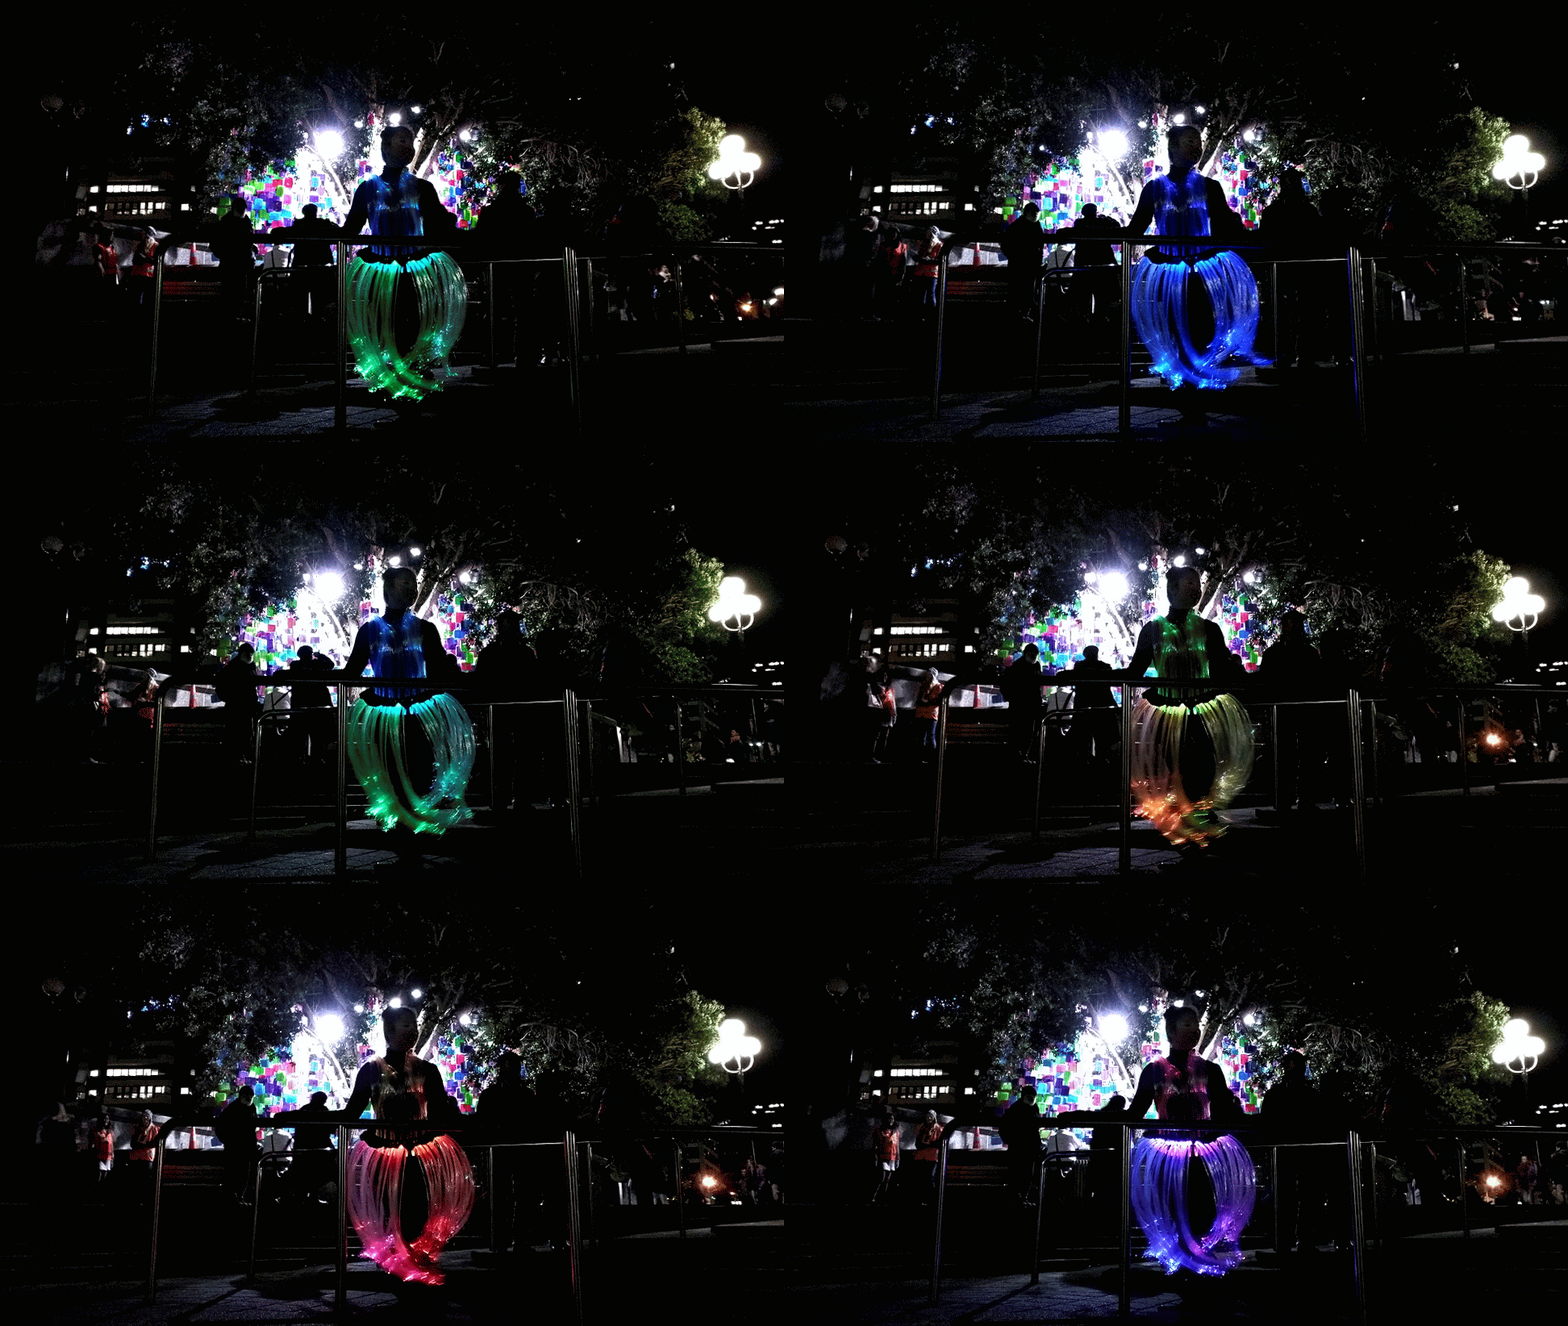
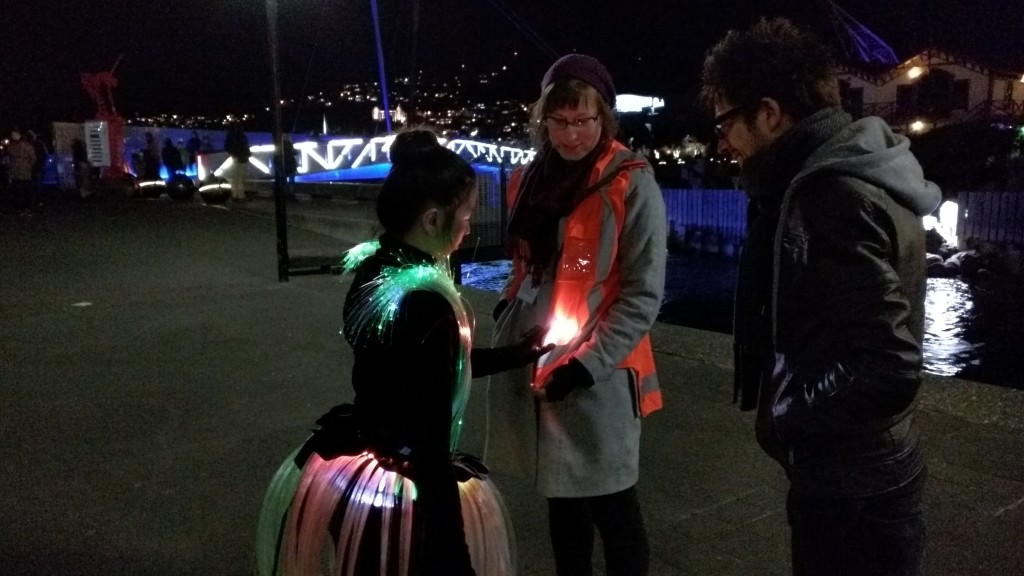
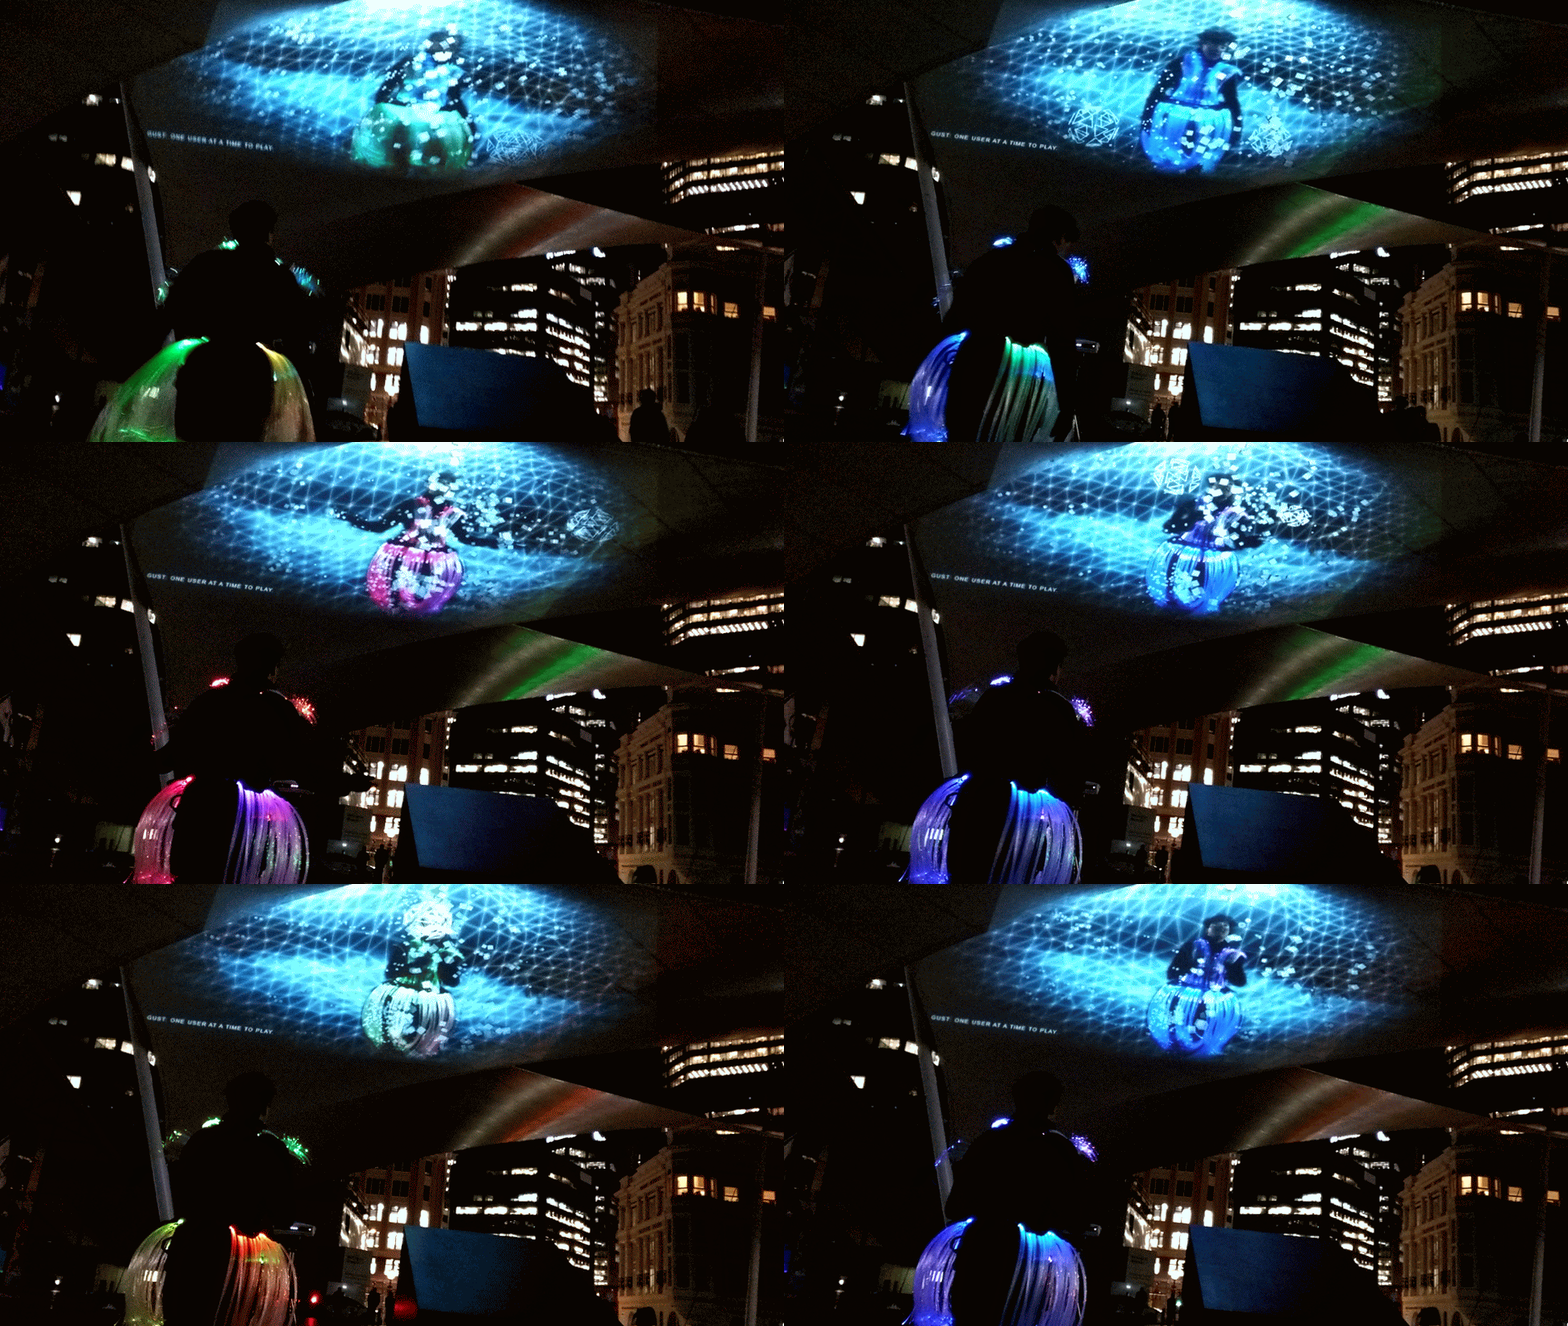
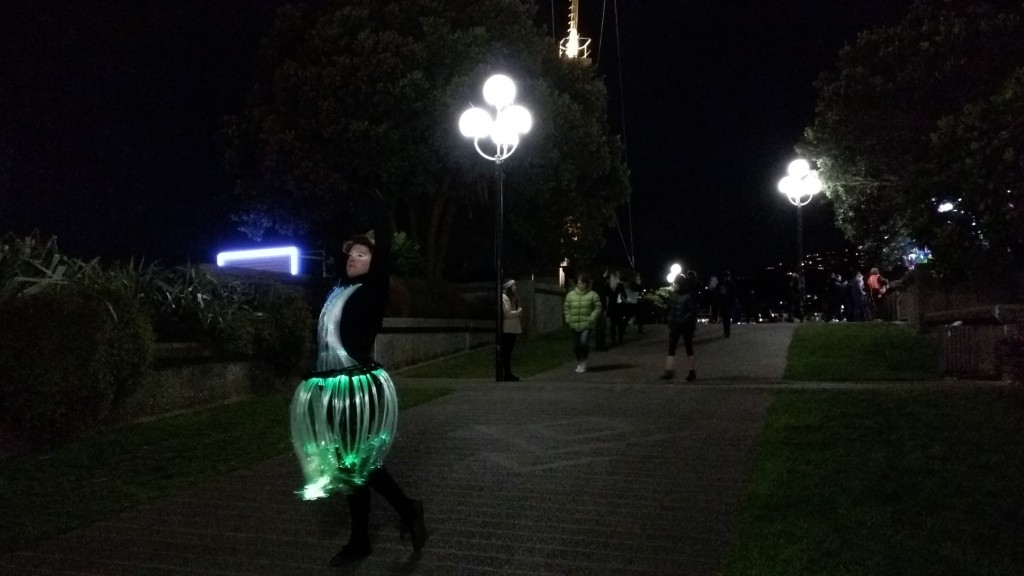
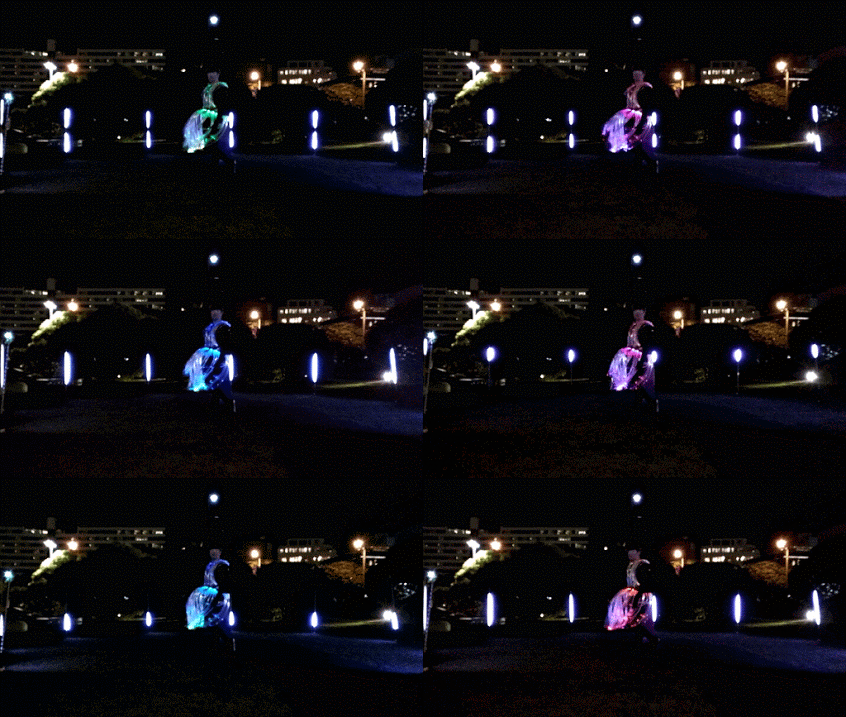
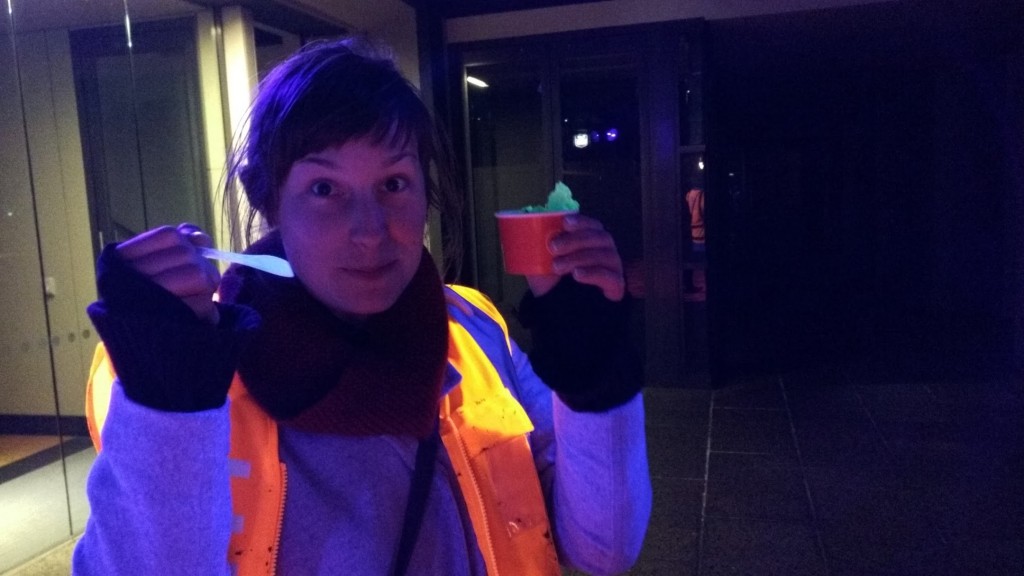
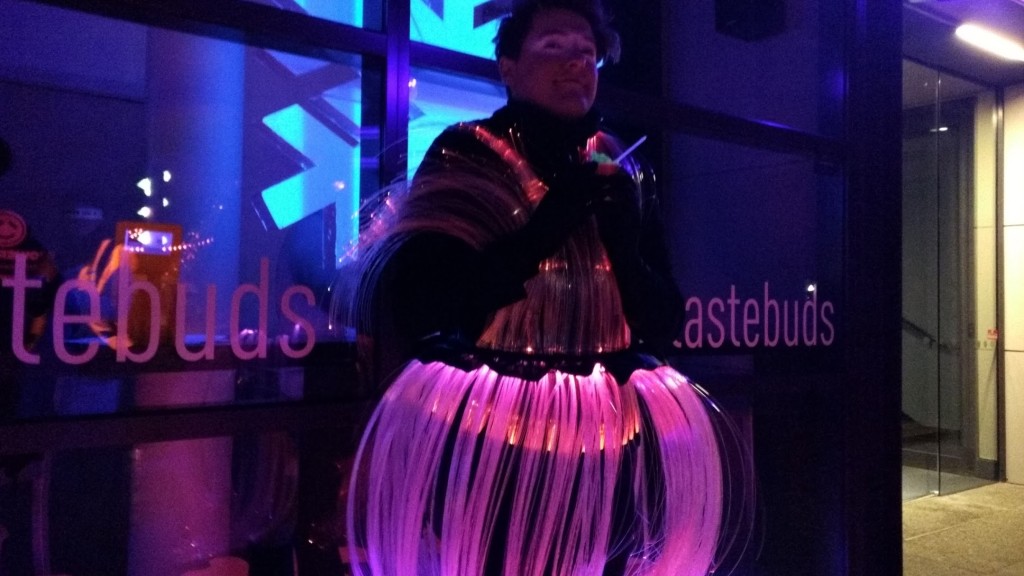
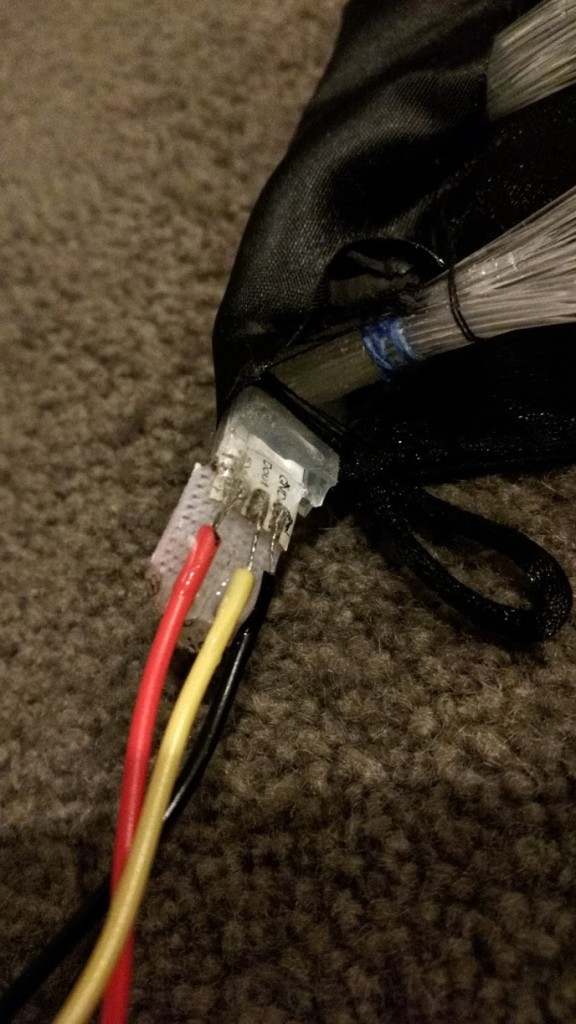
But of course, what can go wrong will. Throughout the week we had numerous technical issues. Nothing we couldn’t handle or patch up, but annoying and fiddly to fix. We made sure to carry an emergency kit at all times just in case, but the weight and stress from constant moving and flexing, proved to be a bit much for the connections sometimes.
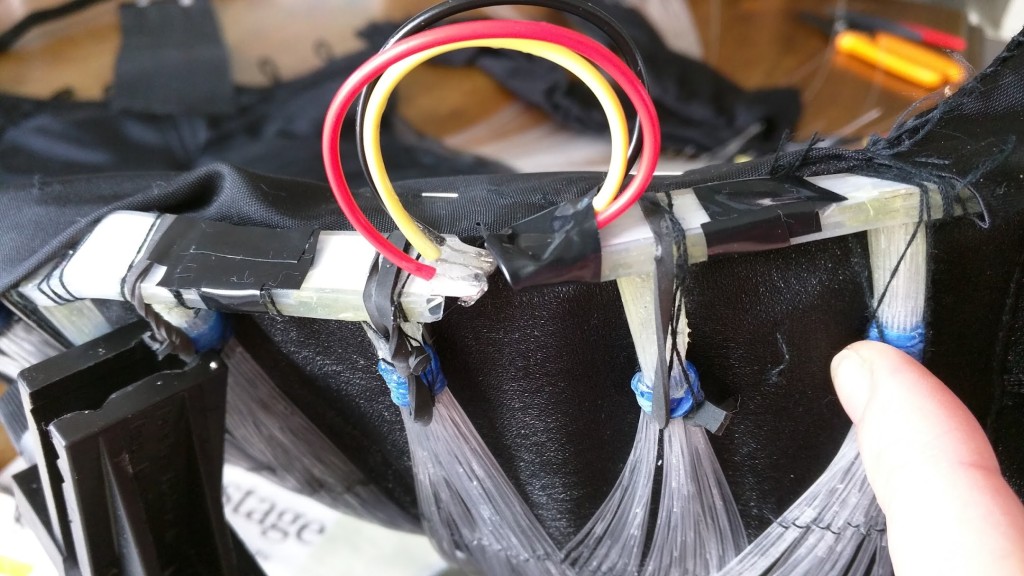
We ended up having to cut into the top twice and the skirt once to make some jumper extensions like this. Bending the LED strip was slowing pulling the connections to the LEDs away. These extensions gave them a little bit less strain and more wiggle room.
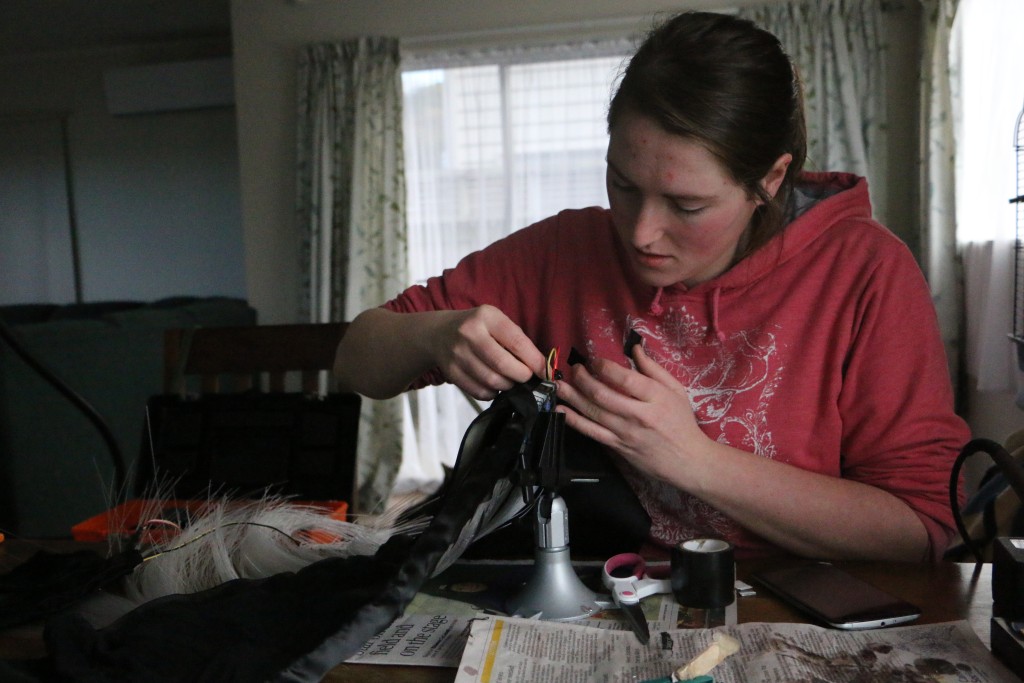
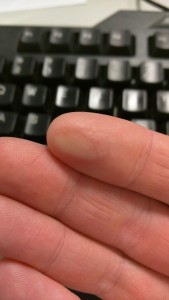
I had been travelling all day and Sophie and I had decided to do a late night to finish some things. I was going over soldering techniques with her and in the process of passing her the soldering iron to try it out, I burnt my hand. Sleep is important. 80 watt soldering irons are very hot.
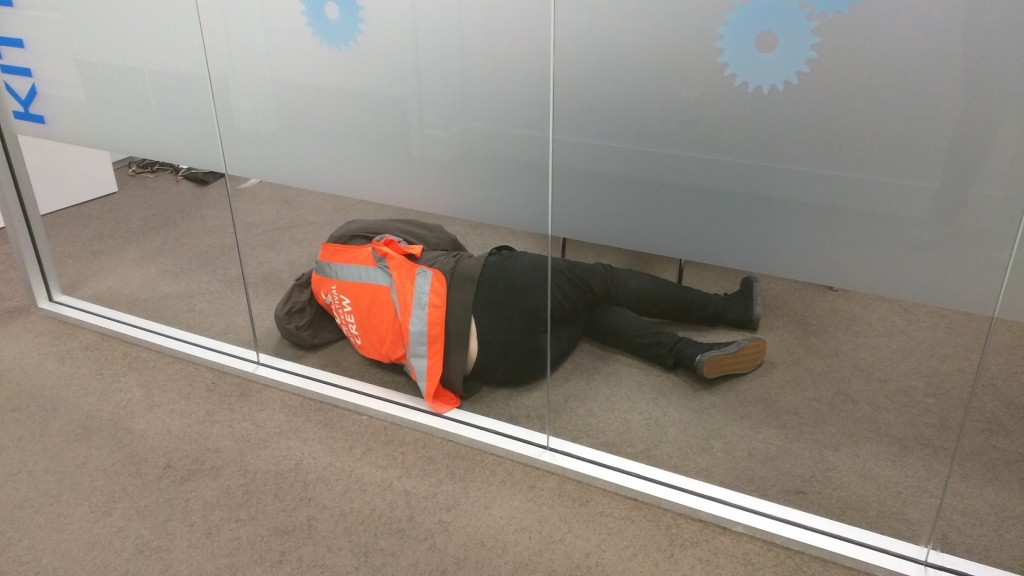
By the end of the event, we were not only a little bit more crazy, but completely exhausted. I took some time off work, but poor Soph kept working her usual 9-5 job and then walked around the festival with us from 6-11pm every night. Taking regular breaks and sleep is very important.
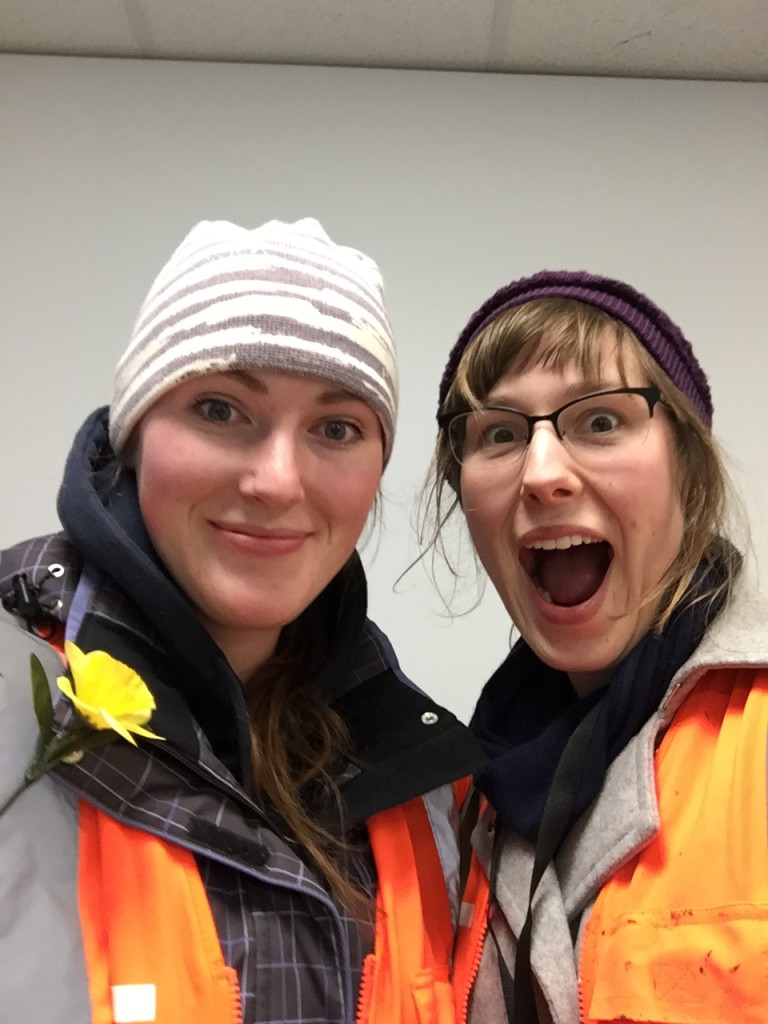
TL;DR: Sophie Taylor and I made a performance light piece, to help connect the 2015 LUX light trail and brought something new and interactive to the light art festival.
Performed by the amazing duo: Kelsey Gee and Jack Hitchens
I’m so proud of what we have achieved. The final result looked amazing and far better than what I had ever imagined.
Our performers truly brought the piece to life. “Light Swan” became “Team Light Swan”.
I wouldn’t have been able to pull it off alone and am so grateful to have an amazing friend like Sophie that’s willing to take a leap of faith on a sketched idea and help me see it through.
Thank you Sophie (runs with scissors) Taylor.
2 thoughts on “Project: Light Swan”