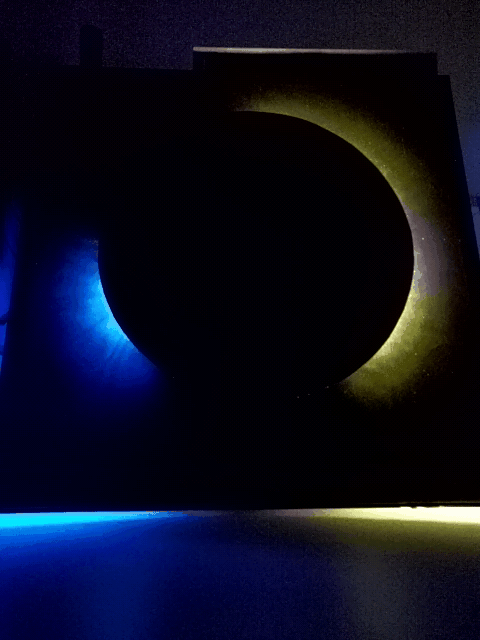
Time Eclipse uses the idea of gravitational lensing and a total solar eclipse, to display time. The fixed occultation causes time to appear as though it curves to the observer’s view, from somewhere far beyond the viewer’s space-time.
Well, that was the bit of waffle I added to the requested bio + artists statement for the 2017 Neoturboencabulator exhibit.
I’m not good at writing these things…
I prefer creating things because I’m interested in learning how or what the cause and effects are of different components. Or simply because I think I will like how it looks. Really, the inspiration behind this build was because I have a fascination with astronomy, and wondered if there was a way I could display time using light. More precisely, light in the form of a solar eclipse (maybe I should have just written that as the statement).
I originally started with a black canvas but felt this may not convey the idea of space very well. So I gave spray painting planets a go! It turned out OK-ish… But I decided against using this as it looked a little cluttered. Plus, doing this on a stretched canvas rather than a flat surface meant that some of the planets ended up a little dribbly.
When I originally came up with this idea, I wanted to make it sturdy and long lasting. Something I could hang in my house that would last for years. So I created a smaller wooden frame to sit inside the canvas frame that would host all the components and hopefully mean that the canvas wouldn’t sag over time.
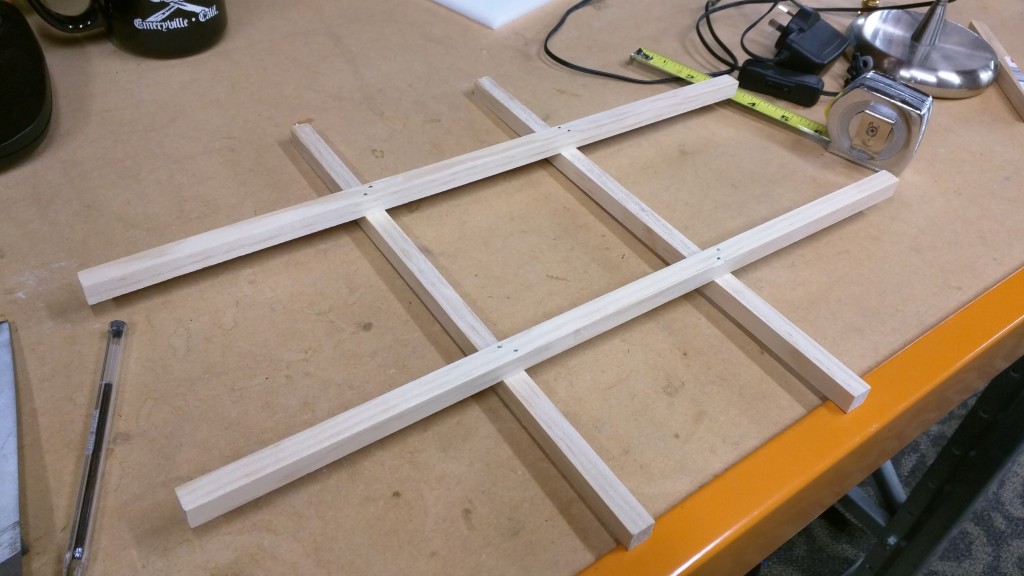
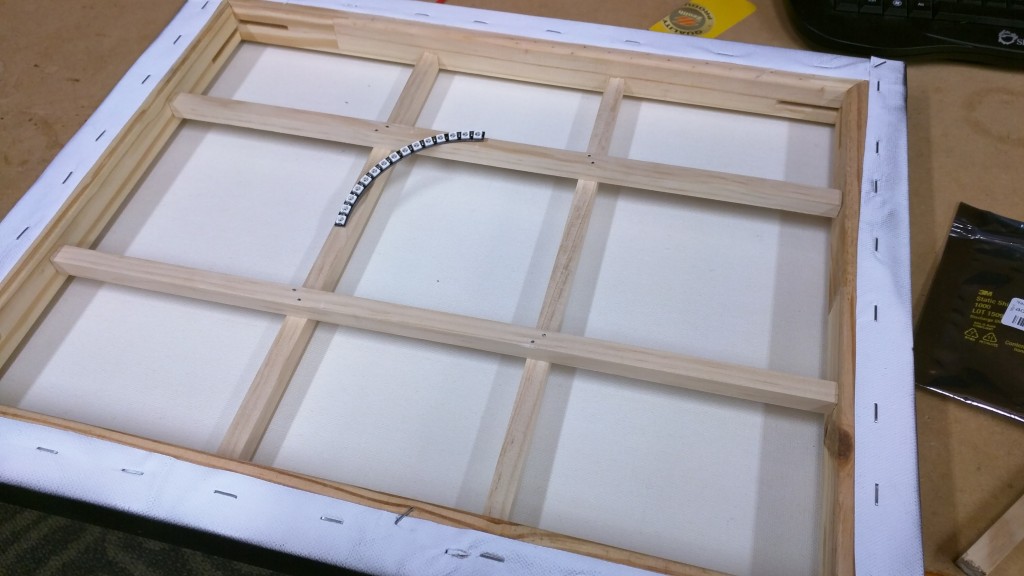
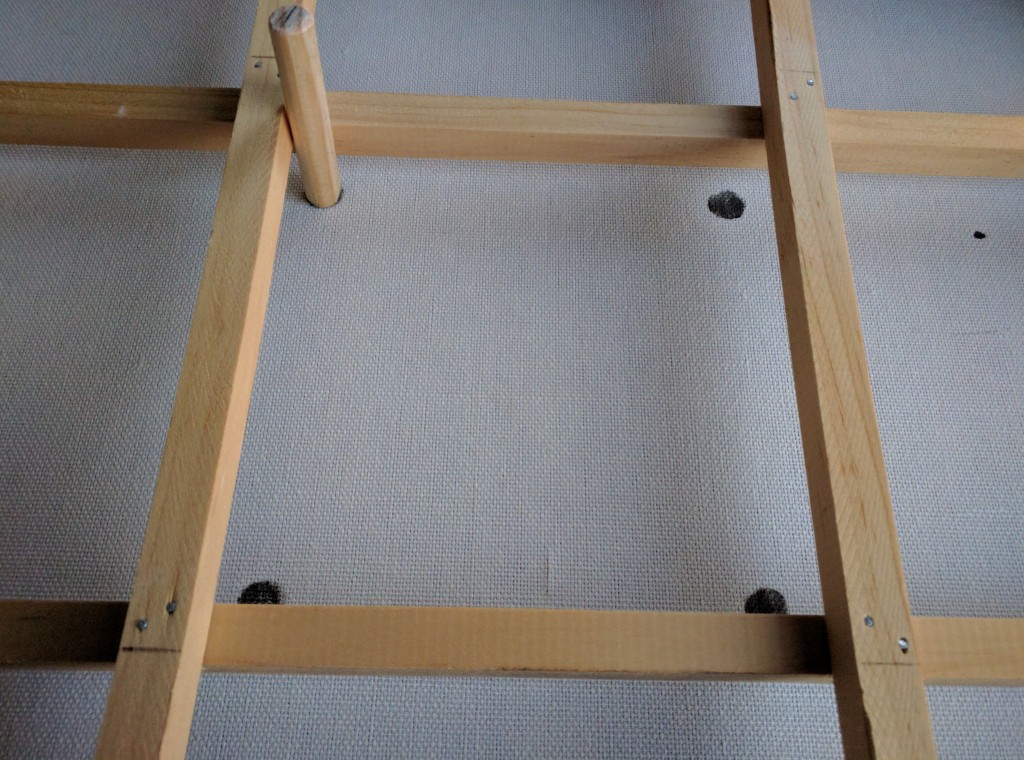
The frame needed to cross over at just the right point to allow for ~5cm lengths of dowel to be attached and placed through the canvas, so that the lights and “moon” could be elevated slightly off of the canvas.
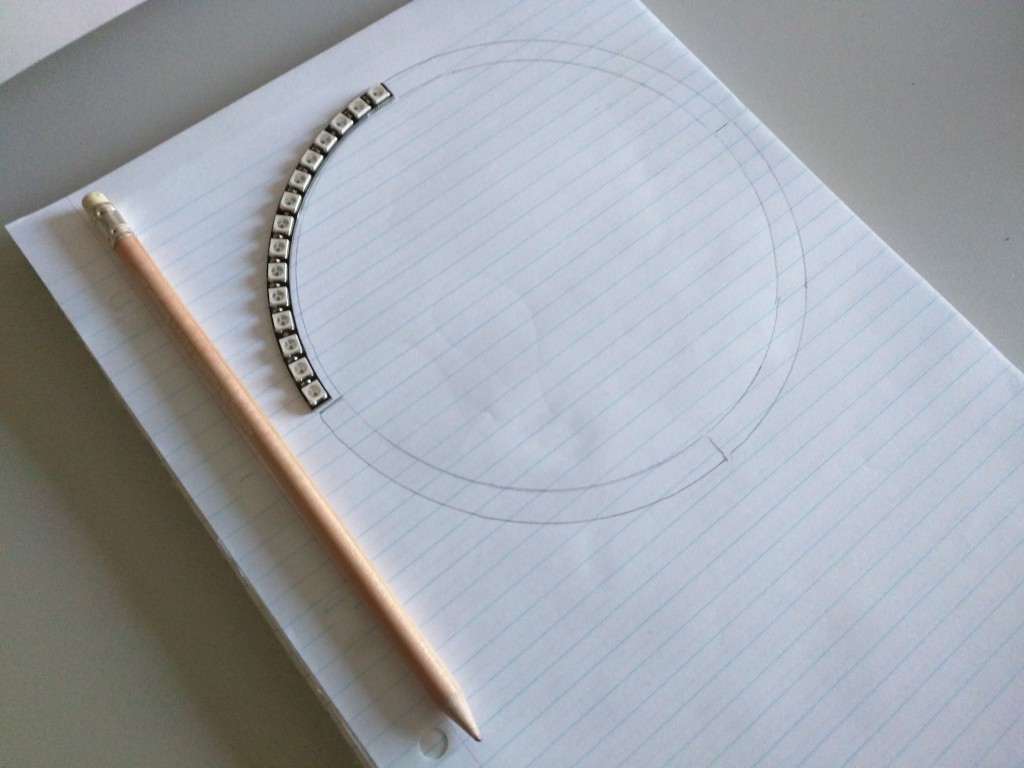
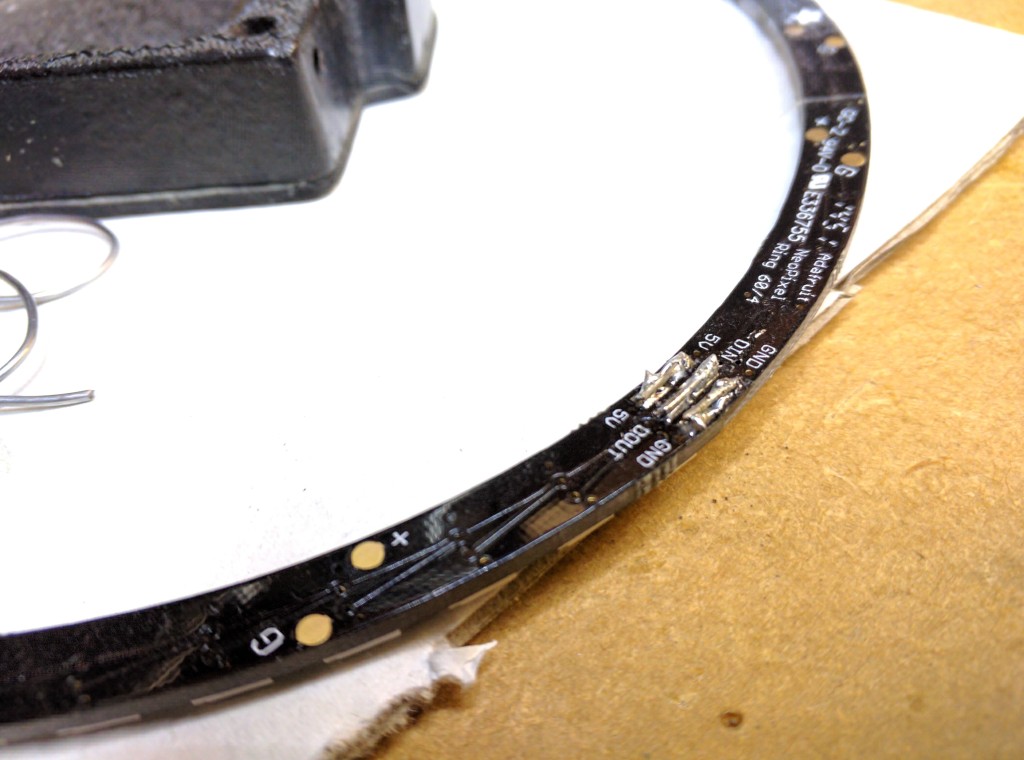
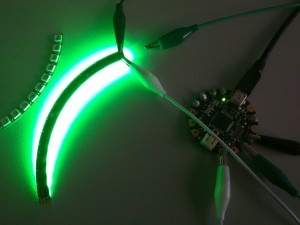
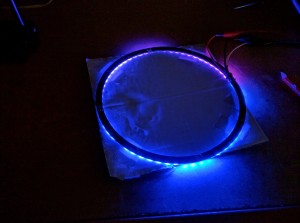
The lights I started with were 4 RGB Neopixel 1/4 60 ring LEDs from Adafruit (click here to get your own). I made the mistake of only purchasing one of these with my first order, not realising it was only 15 LEDs (a quarter of 60). They required a bit of tricky soldering and I found that the soldered connections broke easily. I ended up stripping tiny bits of single core wire and using that to help connect and solder each quarter together.
It would have been waaaay more ideal if this was available as one solid ring of 60 LEDs (hint, hint Adafruit).

This project took waaaaay too long to finish. If I go back to some of the earliest photos I took for this project, they date around September 2015… Yikes. I have no excuses as to why it took so long to finish. The code is not overly complicated and the materials are easy enough to come by. I gave a few talks between then and now which consumed a lot of my extracurricular activity time and I had plenty of other things going on in life. But this poor build just spent too long sitting in various stages on my workbench. And now that it’s finally finished, I have the hardest task of them all; finding somewhere to hang it.
NZ Herald
http://events.nzherald.co.nz/2017/neo-turbo-encabulator/wellington