They grow up so fast!
This year my younger sister Emma, attended her first school ball. To make it even more special, I offered to help make her really shine.
After discussing some ideas, we decided that it had to have some level of interactivity but not too overwhelming as her dress already had a lot of intricate detail in places.
Using the sparkle skirt example from Adafruit as a guide, I added 14 neopixel LEDs to the dress. These are controlled by a FLORA, a small microcontroller intended for wearable electronics (apparently washable, but I’m skeptical..). Combined with an accelerometer, I am able to detect motion, so that when the wearer moved or danced, the LEDs would light up randomly and appear to twinkle.

I started by making a simple circuit with the accelerometer, microcontroller and one neopixel, to test that the code would compile and run as expected.
In the above example, the LED is randomly selecting from red, blue and white and twinkling on and off when motion is detected.
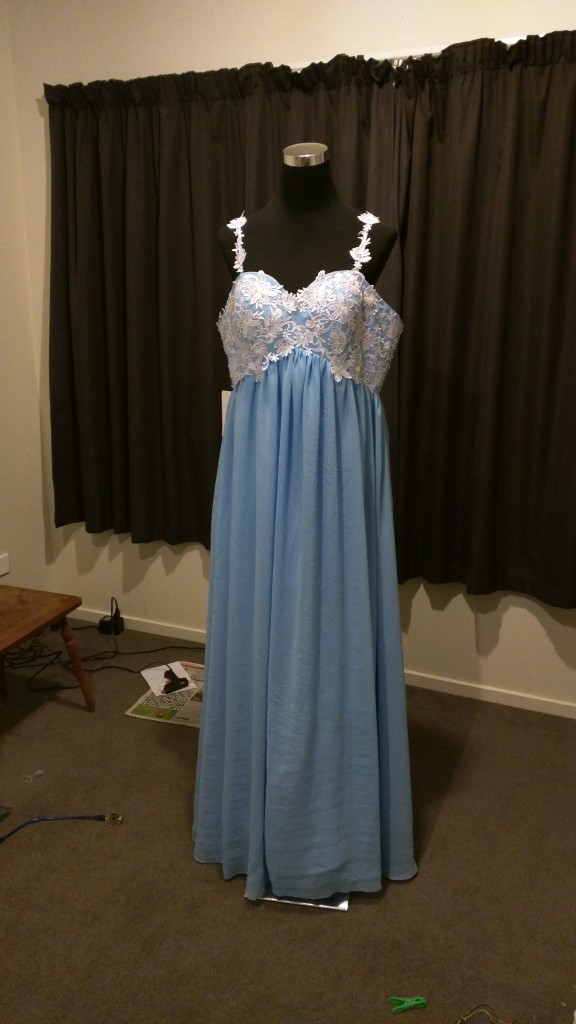
I then laid out all the components on the dress, pinning them lightly in place with safety pins.

One-by-one, I hand stitched the positive and negative points to the dress with conductive thread till all 14 were firmly in place.

The conductive thread was a pain in the butt! The ends frayed very quickly. After tying a knot and cutting the ends, the thread would start to unravel and so would any of my attempts at knotting it in place. Some recommendations I found had been to use clear nailpolish to help seal the ends, but I didn’t find this to be very effective as it would not dry fast enough to keep the frayed strands together.
With only 2 weeks to implement, there were bound to be some issues.
Fuck up #1:
Silk doesn’t like heat.
My plan was to use conductive thread (a steel based 2-ply thread) to stitch the LEDs in place. I have used it before on an LED jacket and had issues with wires crossing and shorting the circuit when the fabric folded. This time my plan was to insulate each thread with a small coating of clear nail polish and to help keep the connection strong, a bit of solder over the thread at the connection points on each LED.
Unfortunately, it was late, I was tired and the soldering iron was hot..

The conductive thread would not solder to the LED connections and the silk near the soldering iron melted from the heat coming off of it.
Fix: buy more silk in exactly the same shade, make a neat patch and hope like hell my sister doesn’t notice.
Now I needed a new approach for connecting each LED. I didn’t want to hand stitch the entire circuit, because that could give the dress potential to short if the threads crossed. I couldn’t solder the thread directly to the LEDs either. So I decided to use insulated wire.
First, to make sure the soldering iron was nowhere near the dress anymore, I measured out a length of insulated wire that would reach from one LED to the next. Then I looped a needle with conductive thread and tided the end to one end of the insulated wire, wrapping the remaining wire around the threaded knot and soldering in place. Repeating this process at the other end with another needle and thread, I now had a way to stitch in a solid connection that would not fray and more importantly, had less chance of shorting.

This took much more time and the process needed to be completed 3 times to each LED in order for the circuit to continue to the next LED.


Fuck up #2:
Test each and everything as you go and before you commit.
I was rushing. I had very little time left and I just wanted to get the circuit complete. Rushing the last few neopixel LEDs, I failed to notice that one was a dud. I fired up the microcontroller, tested the circuit, checked with the multimeter that each LED was receiving roughly 3.7 volts.
All but one worked. He’s dead, Jim! I should have tested it before stitching it in place.
Fix: don’t rush these things. Take your time and make sure everything works as expected at each step along the way.
End result: One motion activated sparkly dress
Finally, the parade!
Before the ball, attendees are invited to parade and show off their sweet threads for the evening. Here’s a video of Emma and her partner Cameron walking across the stage and wowing the MC.
“Woah, there’s lights in that dress!”
To help complete the look, I gave Emma some seed lights to thread through her hair.

I’m so proud of my little sister! She definitely stood out from the crowd this year and wowed the school. It helps that she’s already very beautiful 😉
Thanks Em for having the courage and faith to let me embed electronics into your ball dress. You’re a star!
That is really impressive Lisa well done!
Thank you Joel 🙂
That iS so freaking cool!!
Brilliant work on the sparkle dress Lisa. Any ideas for next years Ball dress.?
I bought all the stuff to make this project, but I am not understanding how to download the program to the flora device, I try the steps at the Adafruit website, and got lost. Please, can you give me any advice on this? Thank you.
Hi Sonia, thanks for your message. I’m going to need a little bit more information to be able to help you though. You said you’re trying to follow the steps on the Adafruit website. Which step are you getting lost at? It might be something simple like setting up the Arduino IDE program correctly, but I won’t be able to help you much more without a hint as to where you’re getting lost sorry 🙂 Feel free to paste the link in here and let me know which step is tripping you up. I’ll try my best to help you!
Hello Lisa, thanks for responding, I have the flora V1 with the neopixels v2 and the motion sensor, Is it possible that the problems I am having is because the flora I and the pixels v2 are not compatible? The company sent me the wrong one. I am waiting for the flora v2 now. I am new to this devises but I dared to try it because -like you with your sister- want to make an ocacion really special. Your dress was AWASOME. I am trying to light up a dress for my daughter’s quince next month, the theme is galaxies.
Hmm, nope I don’t think the board version will be the problem. I used a flora V1 for this project and have used them since with the neopixel strips.
It might pay to break down your set up and try to just wire up the components separately first as I have a feeling you may just be missing some of the libraries. Here’s the programming/arduino IDE setup for the accelerometer: https://learn.adafruit.com/flora-accelerometer/programming
It has a very simple setup and there’s an example of it wired up on that page (remember you can use alligator clips instead of sewable conductive thread if you want to conserve it).
Once you’ve got that measuring movement, you could try wiring up one neopixel to the board and check that you’ve got the right libraries installed for those. Here’s a nice overview for the neopixels in general (it has a few links off for how to correctly install libraries too!) https://learn.adafruit.com/adafruit-neopixel-uberguide/arduino-library
Hope that helps! Let me know how you get on 🙂
Thank you for all the information, you have been very helpful. I will try all the steps again, and will post how it went 🙂
Cool, I can’t wait to see what you make!
Hello Lisa, this is Sonia Jinnette again, I have tried several times, and ways (for days) to download the program to my flora but I could not get it. I am trying to find some one that works with this to program it for me. Could it be you? or someone you know?. I know it is a lot of work and I offer to pay good for it.
Hi Sonia, what’s the error message you’re getting in the arduino IDE?